Affinity Designer: Type Circular Text
Creating word circles or round texts is a kind of variation of artistic text. Designers often come across the need to create curved texts every now and then.
In this tutorial, we will learn how to type text around a circle in Serif's Affinity Designer.
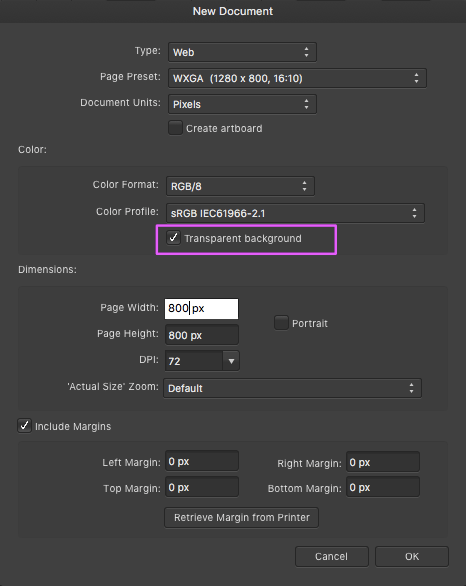
1) Launch Affinity Designer and create a new document (⌘ + N). To work in a transparent background, check Transparent background in the Color section of the dialog box which just popped up.
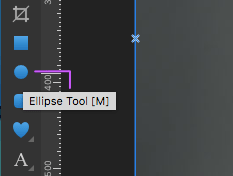
2) Pick the Ellipse Tool.
3) Trace out an ellipse, and press SHIFT while tracing it out; it will create a perfect circle. Fill the background with some colour. Pick the Move Tool and click on the circle to select it.
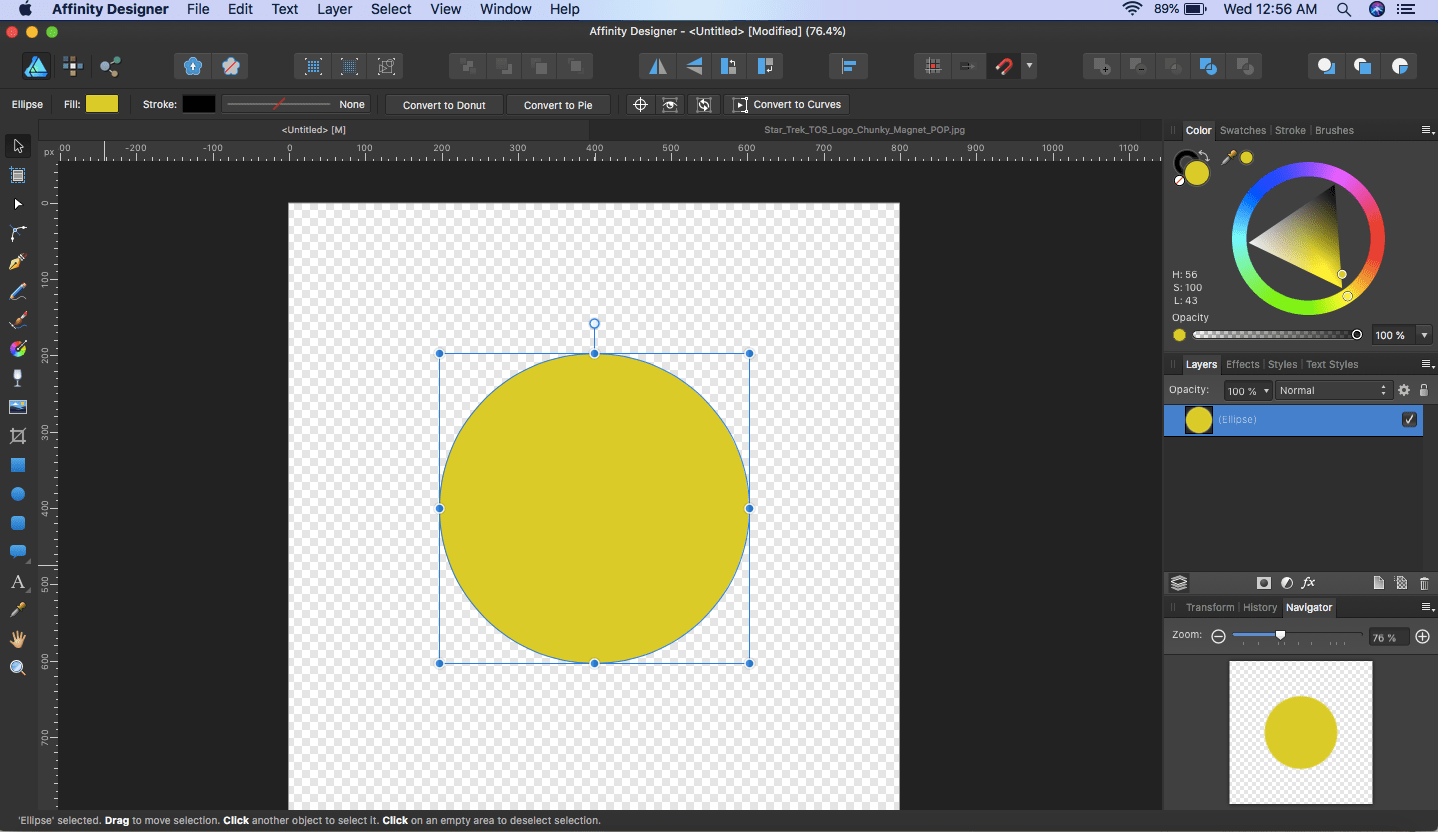
4) Next, pick the Artistic Text Tool to write some words around the circle we just created.
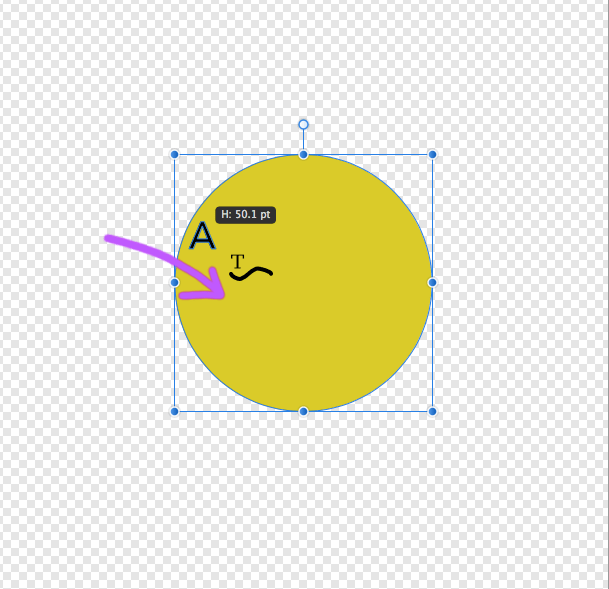
5) Hover over the edge of the circle. The cursor will change to the letter 'T' with a small wave below it. Or you can just select Layer > Convert to Text Path to achieve the same.
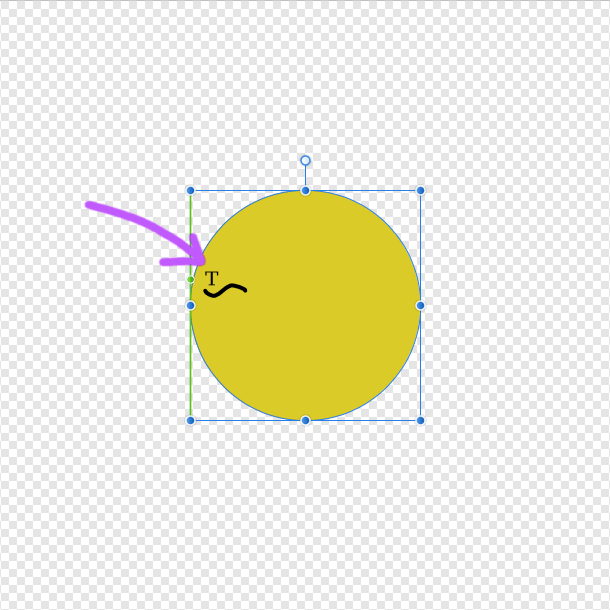
6) Left-click, hold the mouse down and drag a bit towards the right bottom corner. The letter 'A' will appear just above the cursor. Release the mouse.
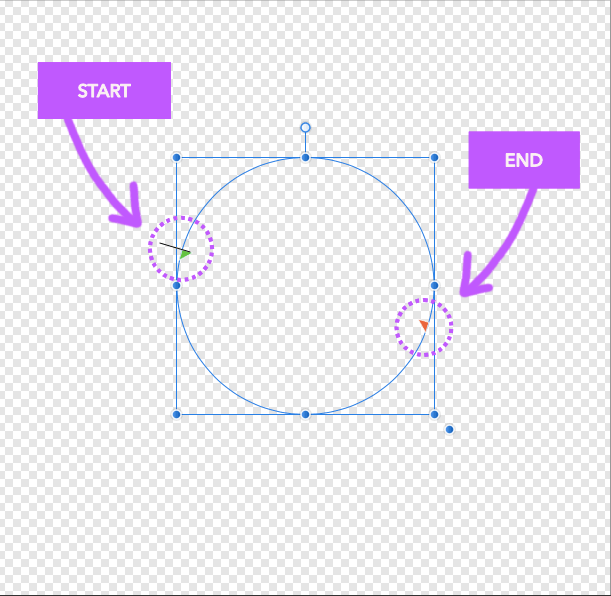
7) Two small green and orange triangles appear on the edge of the circle, marking the start and end points for the text to be typed in a direction. The cursor blinks at the green triangle. We are now ready to type some text.
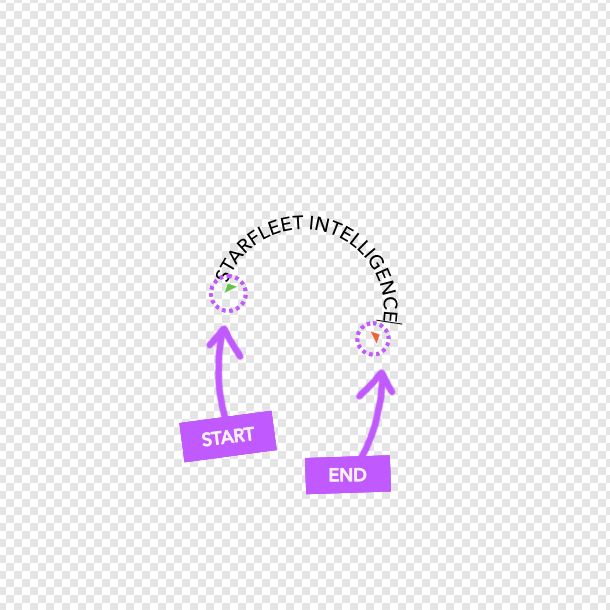
8) We type in some words, say, 'STARFLEET INTELLIGENCE'. Remember, you can select the Font you fancy, choose the appropriate colour, and also set the font size as desired. The green triangle can be dragged around the circle's circumference to the point where you want the text to start. Your typed text can reach upto the orange triangle, beyond which, it flips over to the inside of the circle. The orange triangle is also draggable, so set the marks as you desire.
9) Now we need to add some more words after 'INTELLIGENCE'. Press spacebar and start typing the new words — 'UNITED ... '. Oops! As it closes the orange mark, the new text automatically flips position to the inside of the circle, beginning from the original green start point, but inverted and in an anti-clockwise direction. Another set of triangles — one green (darker) and one reddish — are auto-inserted onto the circumference.
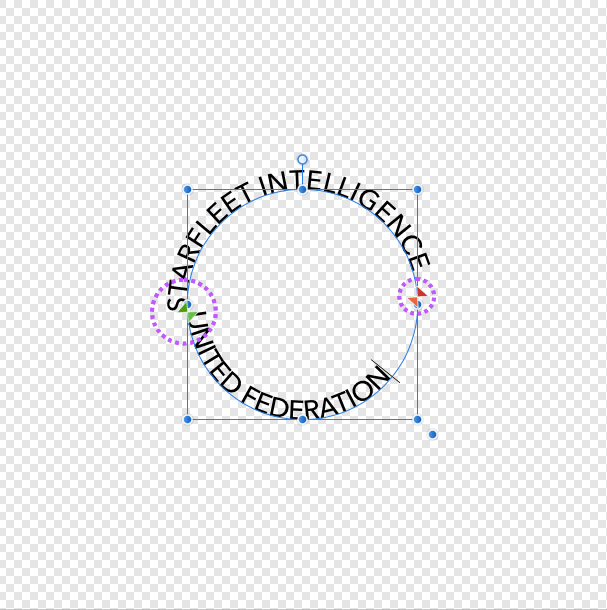
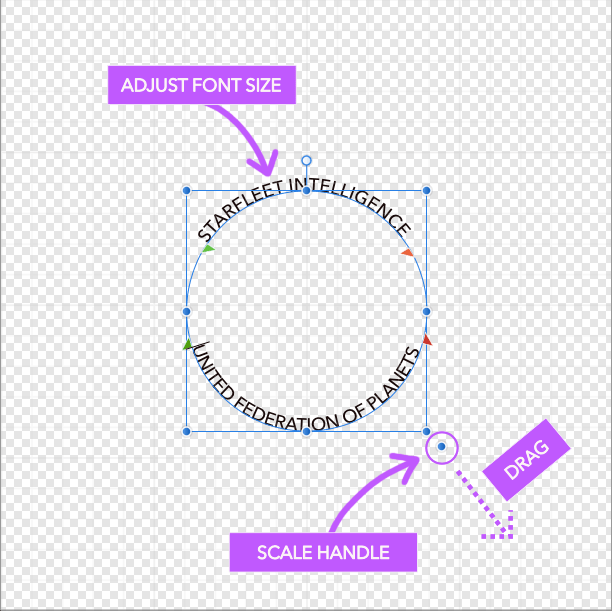
10) We need to complete the text — 'UNITED FEDERATION OF PLANETS' — inside the circle, and it has to fit between the start and end points. For this, we can either reduce the size of the font or reduce spacing between them (not a likely adjustment though) or expand the area of the circle we traced.
Now there are two things about resizing the area:
- If you drag any corner handle of the selection, both the height and width resizes simultaneously, without altering the size of the text on the path.
- There is an extra dot which extends from the bottom-right corner of the selection, known as the scale handle. If you drag it, the text also scales along with the height and width of the object.
Pick any approach (or both), do the necessary adjustments and accomodate the appended text.
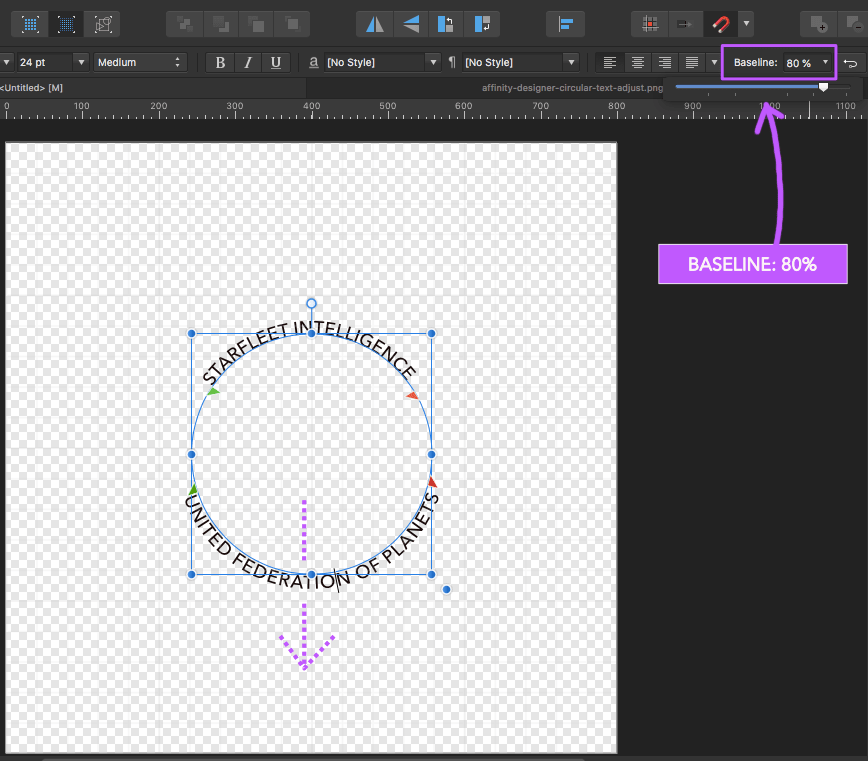
11) We note that the text 'UNITED FEDERATION OF PLANETS' is written on the inside of the circumference. To place it along the outer path of the circumference, increase the Baseline slider. Here, we slide it upto 80%.
Circular Text in Affinity Designer
Below is the circular text we just created. By the way, hope you are not inside a Klingon vessel 😉
Notes
- To create our circle text, we can also select the circle, and from the Layer menu, just select Convert to Text Path. The cursor will change to the letter 'T' with a small wave below it.
- In the same way, artistic path texts can be created from any line, curve or outline of a shape.