Affinity Designer: Duplicating Objects around a Circle (or any Symmetrical Shape)
Often in design we come across the need to place smaller objects symmetrically and evenly, around a larger object.
In this tutorial, we will learn how to duplicate objects around a circle or any symmetrical shape in Serif's Affinity Designer.

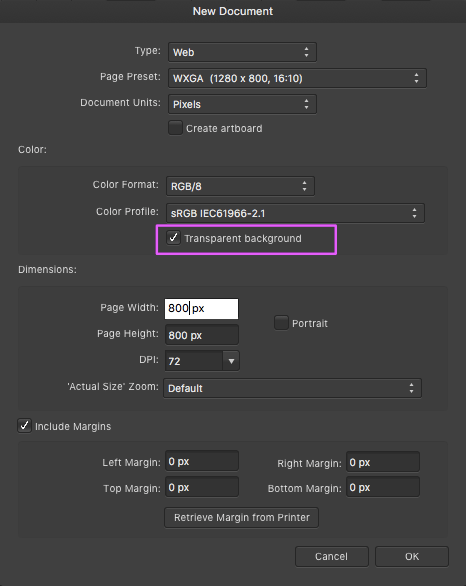
1) Launch Affinity Designer and create a new document (⌘ + N). If you want to start with a transparent background, check the Transparent background field in the Color section of the dialog box. Also, you can set the width and height of the document to your desired dimensions in the Page Width and Page Height fields respectively.
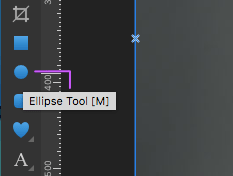
2) If you are in the (default) Draw Persona, pick the Ellipse Tool on the left.
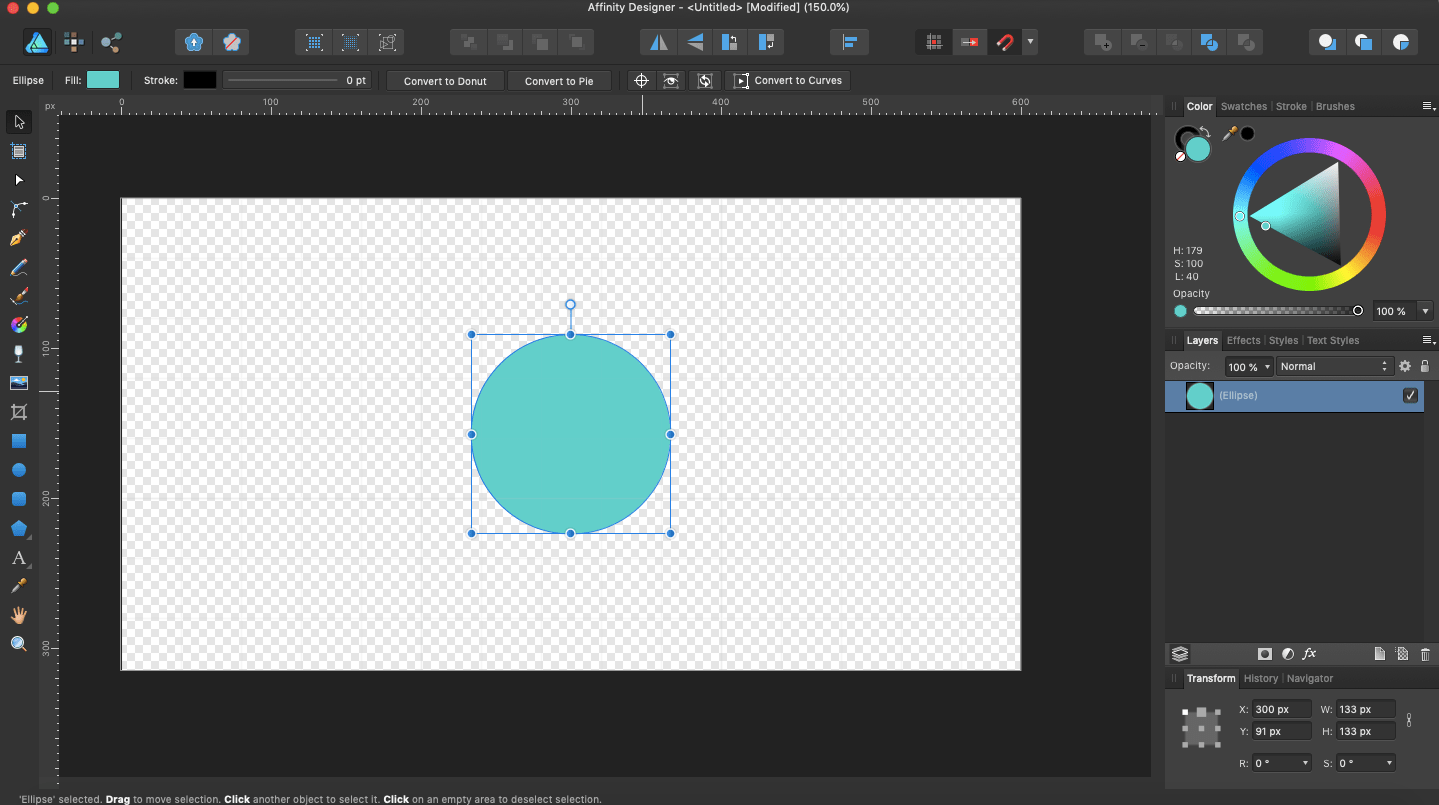
3) Trace out an ellipse. And while tracing, press SHIFT to create a perfect circle. Fill the background with some colour, say, #00CEC9. Pick the Move Tool and click on the circle to select it.
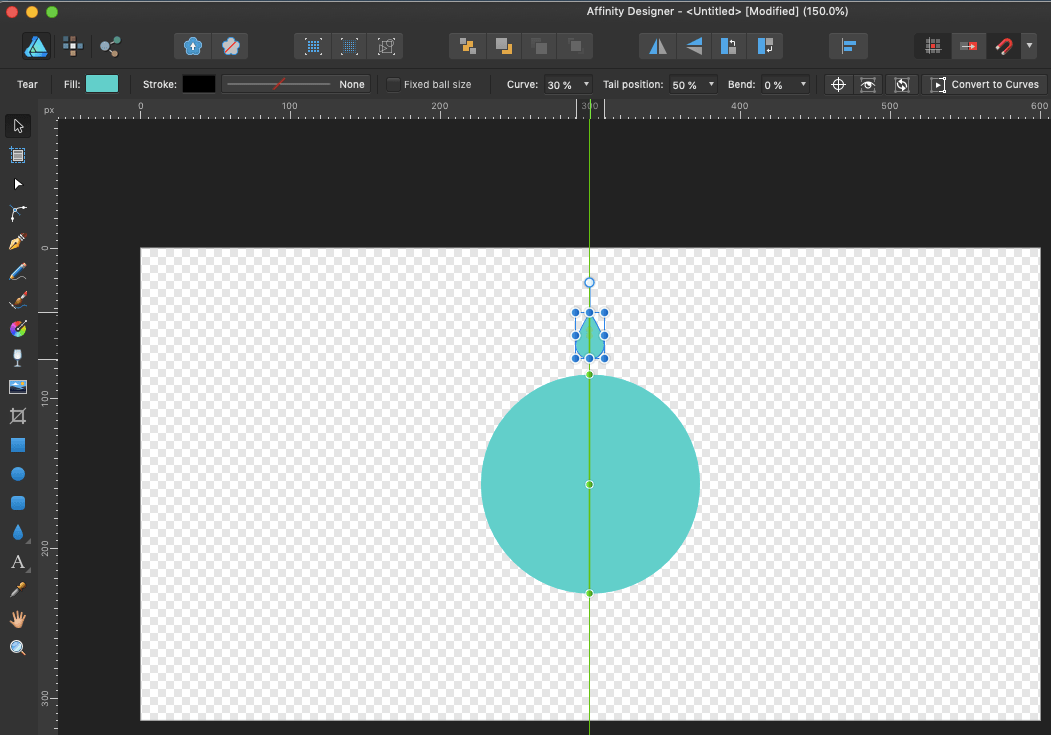
4) We will be duplicating small tear drops around the above circle we just traced. So pick the Tear Tool next.
5) Trace out a small tear drop over the circle. If snapping is enabled (expand the Magnet icon)

there will appear a vertical green line to which the tear drop can be snapped easily.
6) Now click on the Show Rotation Center button on the context toolbar, a draggable rotation center about which an object can be rotated.

7) Select and copy the tear drop, press CTRL + J. Now under the Transform panel, there is an R field. If you need to place 8 tears/objects around, set the angle to 360°/8 = 45 °; if you need just four, set it to 360°/4 = 90°. Here we set it to 45°.
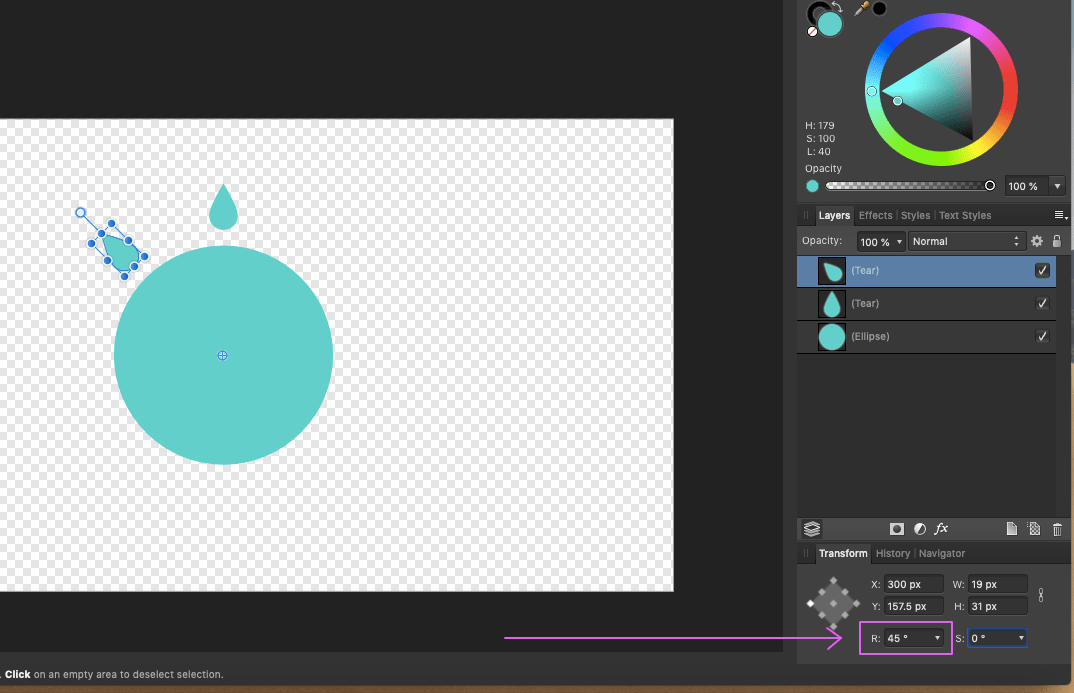
8) Press CTRL + J another six times to complete duplicating the tear drops around the circle.
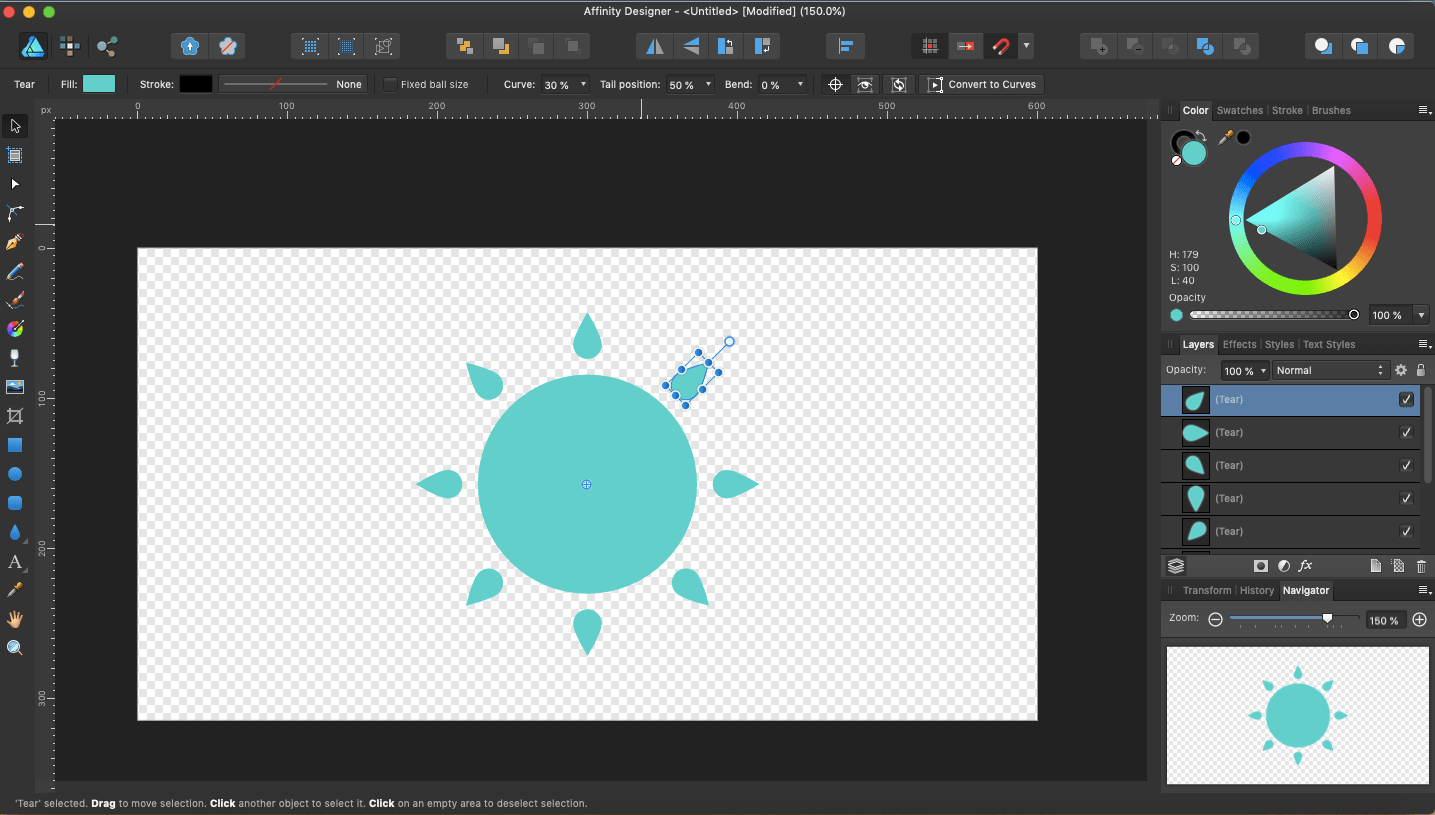

10) We can repeat the above same steps for duplicating other objects around other symmetrical shapes.
