Affinity Designer: Image in Text and Shape
Here is a quick step-by-step tutorial on to put pictures in letters on word and inside any shape you desire.
Launch Affinity Designer.
Put Picture in Letters
1) Open the desired image which you want to put inside your text (⌘ + N). For the purpose of example here, I have chosen the background below, a photo of Alpha Centauri by Zdeněk Bardon from the ESO site.
2) Now let us type some words over the background. Pick the Artistic Text Tool. Select a font of your choice and set the size too. Here we have chosen the Silom font at size 36 px.
3) Type in some words, say, 'ALPHA CENTAURI'. Ignore the colour of the font; whatever maybe, it does not matter.
4) Now in the Layers panel, we notice that there are two layers: the background layer (Background) and the text layer (ALPHA CENTAURI). To get the effect we need, drag the background layer over into the letters layer you just typed.
The background layer (Background) then becomes a child layer of the text layer (ALPHA CENTAURI).
5) And here we have, our text filled with image inside.
6) We can select the text and either save it (with a transparent background) for later use, or just copy and paste it in another background.
Put Image in a Shape
Now let us put an image inside some shape (other than the letters). As an example here, we will pick some shape from the icon assets already available in Affinity Designer and fill it with a picture. The steps are very much the same as described in the above section.
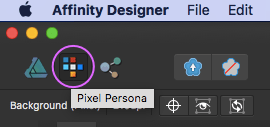
1) Create a new document (transparent in our case here) and select the Pixel Persona.

2) Under the Assets panel, expand the Icons section.
3) Click-drag the calendar icon onto the document. Adjust its size after selecting it with the Move Tool.
4) Select File > Place... and place the image you wish to set inside the calendar icon. Here, we will use the image Colorful Spring Garden by Anita Martinz from Klagenfurt, Austria (CC BY 2.0, via Wikimedia Commons) to fill inside the icon.
5) Go to the Layers panel and drag the image layer into the icon layer (Calendar).
6) We have now put an image inside the calendar icon.
Insert Image into Desired Shape
Now let us consider shapes beyond those readily-available within Assets in Affinity Designer; let us pick the flower-shaped figure below and put some image inside it.

2) Click on the Pixel Persona.
3) Pick the Selection Brush Tool.
4) Check the Mode in the context toolbar and make sure it is set to Add (default) initially. Click drag over the flower shape and trace out a selection. It will add areas to the selection with each brushing. If there is a spill over in selection, click Subtract and remove unwanted regions.
5) From here, we can go about in any of the following two ways:
-
Select File > Place... and place the image you want over the selection. After pasting the image, pick the Move Tool and adjust its size and move it around over the selection, dropping it where you deem it has encompassed the parts of the image you desire to appear within the selected area.
-
Right-click and copy the selection itself, and paste it over the image which you want to appear inside the shape. After pasting, pick the Move Tool and adjust the size of the selected shape and move it around and place it over the part which you desire to appear inside the flower shape.
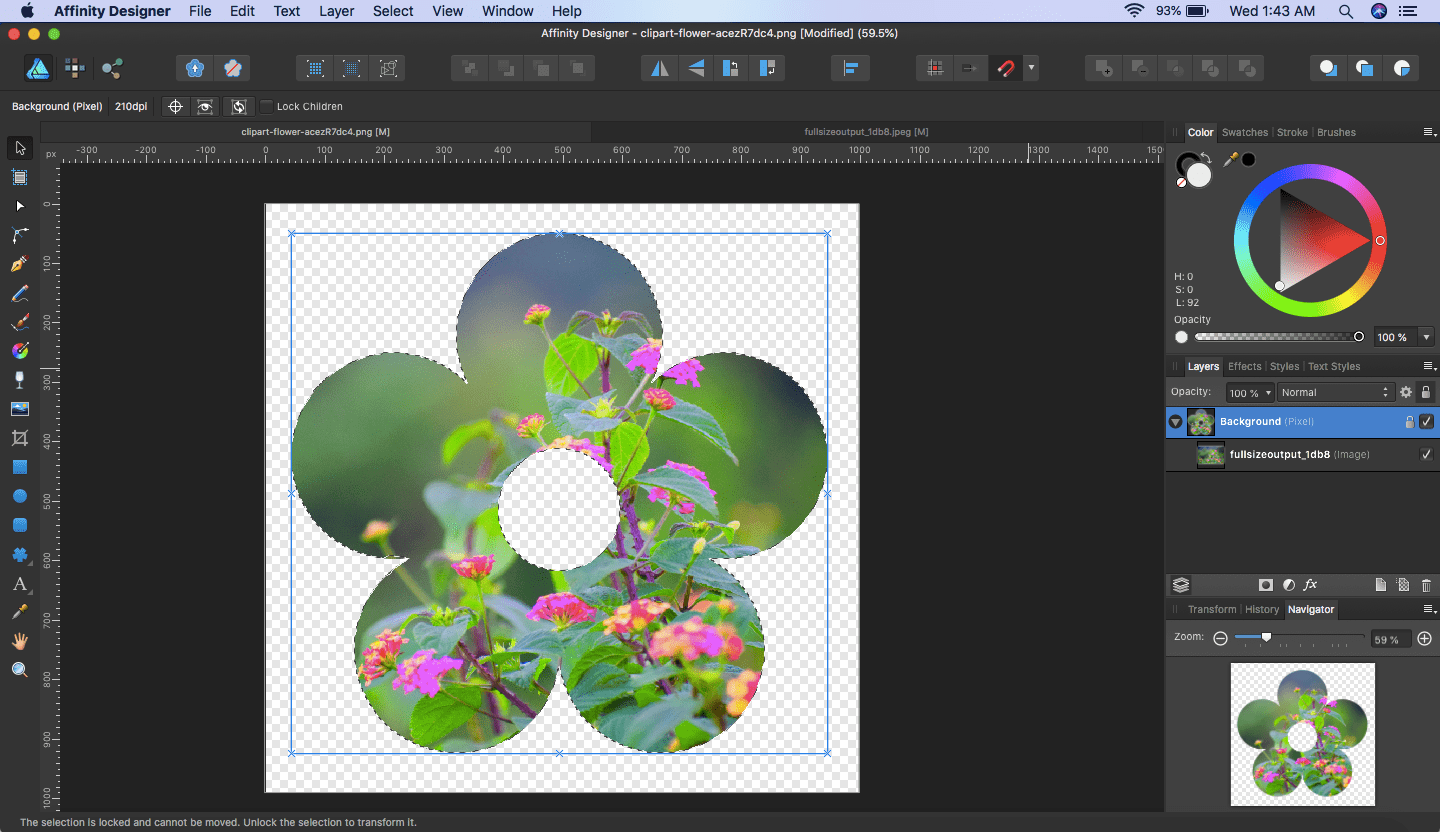
6) In the Layers panel, drag the layer of the image over into the layer of the selected shape (Background).
7) We then get our selected shape with an image inside. As before, you can either export and save it for later use (in a transparent background) or you can copy and paste it to use it in another document.
