Affinity Designer: Design a Flat Icon (Ice Cream)
In the previous tutorial, we have learned how to design a simple flat heart icon, making use of the Heart Tool already present in Affinity Designer. It was pretty much straightforward. Here, we will attempt to create a little more complex icon than we did in the previous one — design an ice cream icon, consisting of a cone topped with three scooped creams. Below we present a step by step tutorial on how to achieve it in Serif's Affinity Designer.
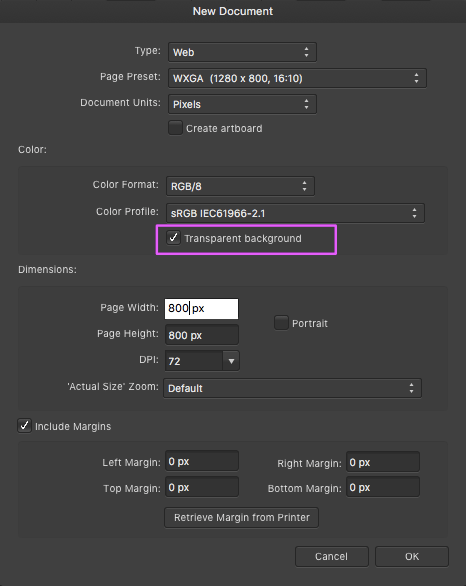
1) Launch Affinity Designer and create a new document (⌘ + N). To work in a transparent background, check Transparent background in the Color section of the dialog window that popped up.
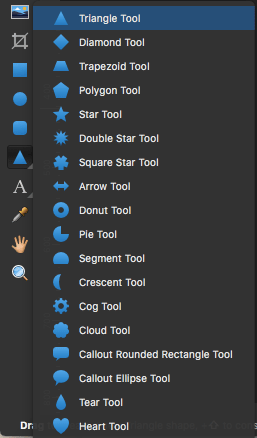
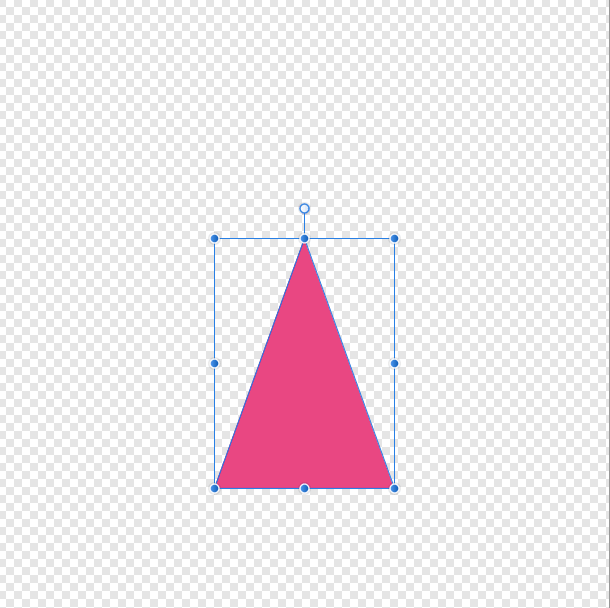
2) We will first draw the cone part of the ice cream. Pick the Triangle Tool and trace out a triangle. Fill it with some background colour, say, HSL (331,93,53) or #F71784. Pick the Move Tool and resize the cone as you desire.
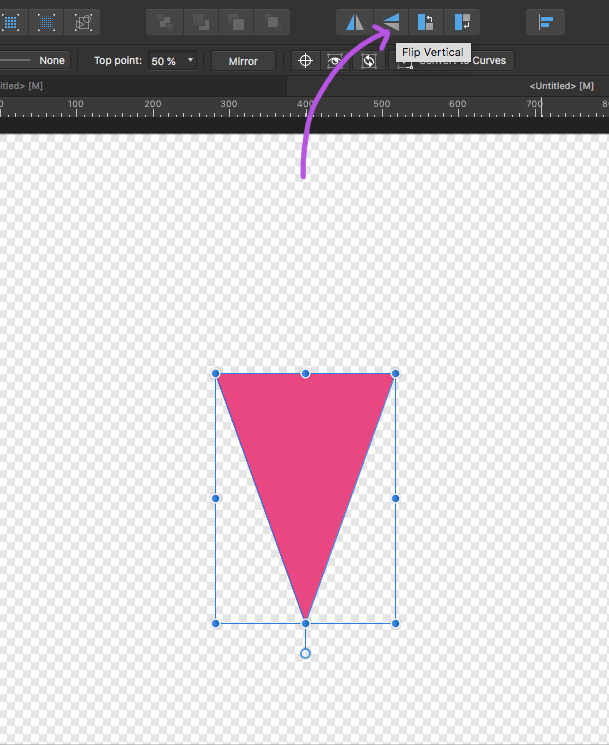
3) On the toolbar, click the Flip Vertical option and invert the cone.
4) We will create contrast on the half-side of the cone by filling it with a slightly darker colour. Pick the Rectangle Tool and trace out a rectangle about the same height as that of the cone. Fill it with a slightly intense colour than the existing background, say, #C23151.
5) Now we will clip the darker rectangle into the outline of the cone, so that the rest of its unwanted parts beyond the edges of the cone become masked. In the Layers panel, drag the darker (rectangle) layer into the triangle layer below it. The rectangle layer will become the child layer of the cone layer. This is known as Layer Clipping.
6) Now we need to add some scooped creams above our cone. Pick the Ellipse Tool, press SHIFT and trace out a perfect circle. Press ⌘ + J two times to copy and create two more layers of our "scooped creams". Picking the Move Tool drag and resize the "scooped creams" and place them in an overlapping manner. Fill the creams with contrasting colours. Here we give #E06C3D (chocolate), #FFDE7E (rum raisin), and #4CF78D (peppermint).
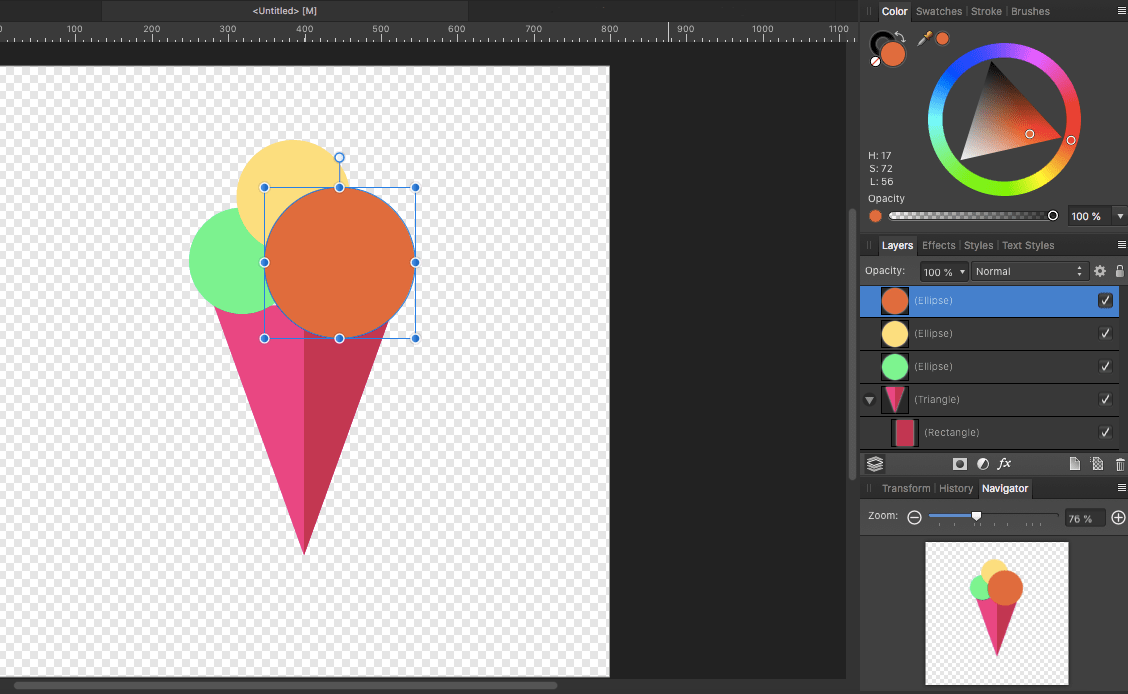
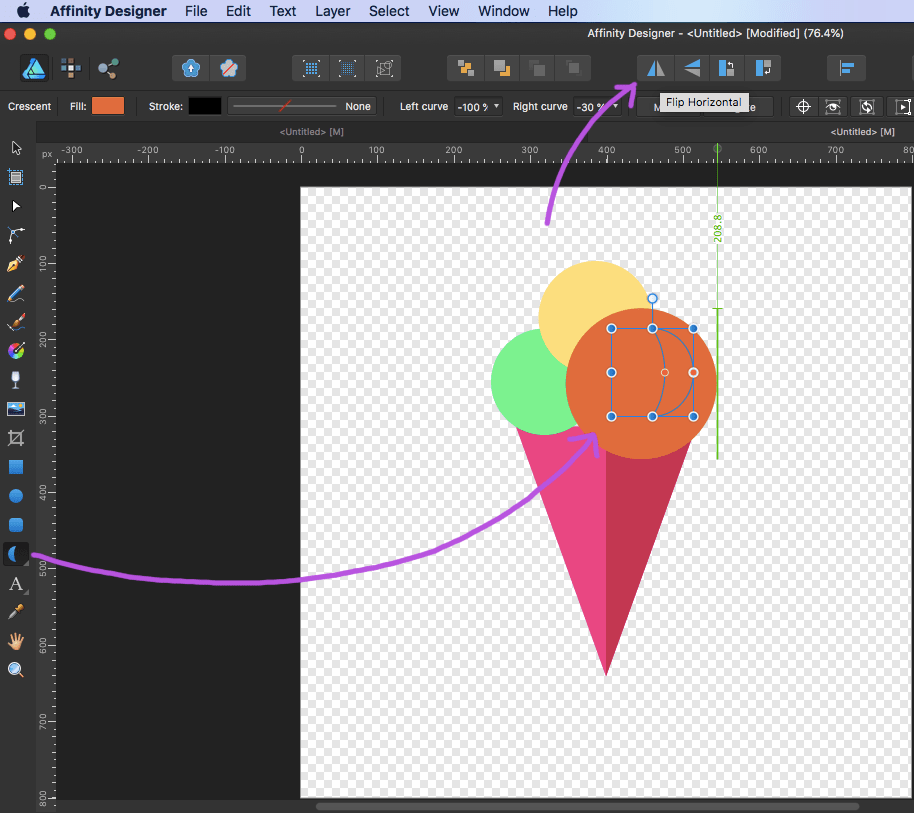
7) We will add some crescent shaped shades near the edges of the cream layers. Pick the Crescent Tool and trace out a crescent of some size over the chocolate cream layer. Click the Flip Horizontal option on the toolbar and flip the crescent to face the other side.
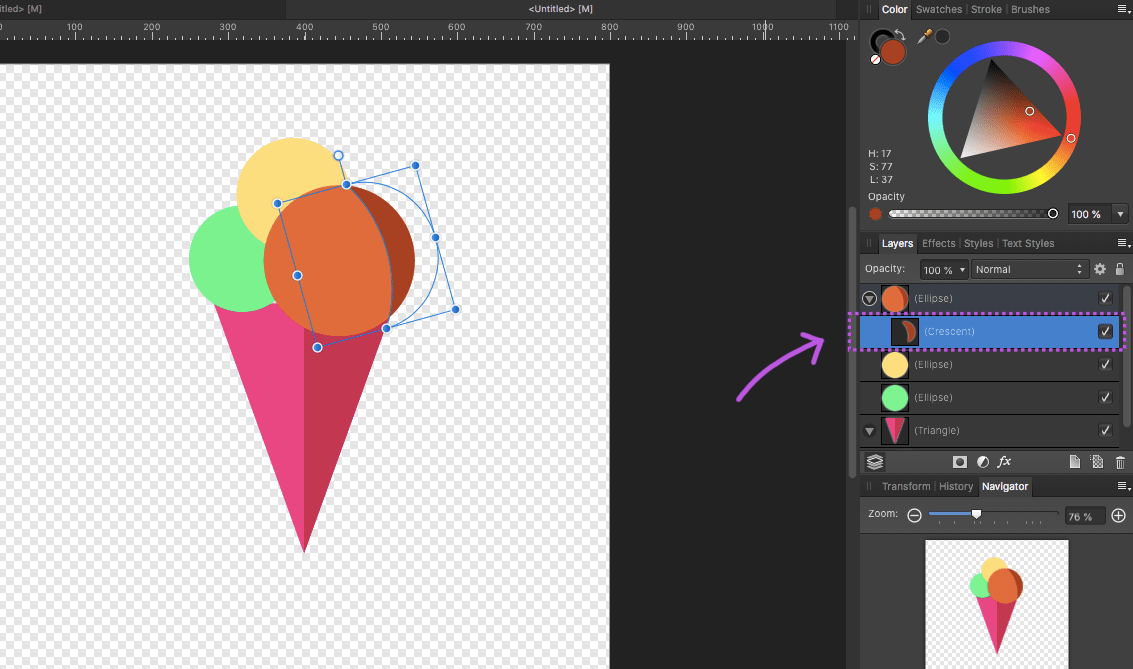
8) Fill the crescent with a slightly darker colour, say, #A84016. Here also we need to mask/hide the unwanted parts of the crescent to fit into the outline of the cream layer. To achieve this, as before, we clip the layer of the crescent layer by dragging it into the cream layer.
9) In the same manner, we add one more crescent onto the rum-raisin flavoured layer behind the chocolate cream layer.
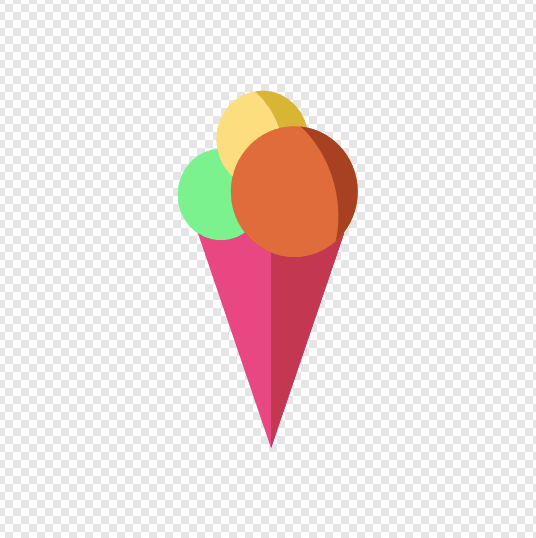
10) Using the Ellipse Tool, we trace out small circles over the chocolate and rum-raisin flavoured cream layers, fill them with white, and make they appear as white dots.
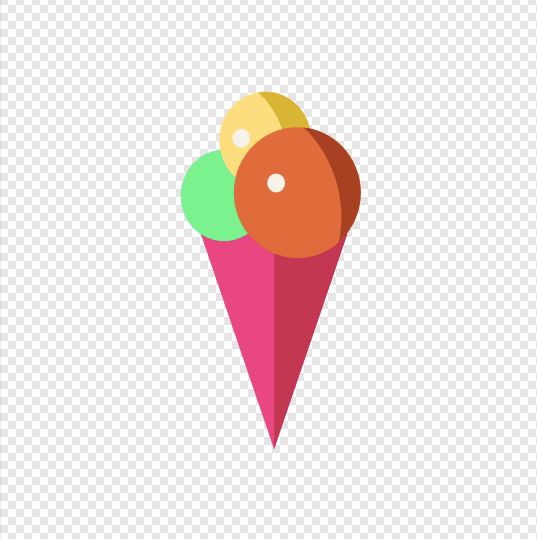
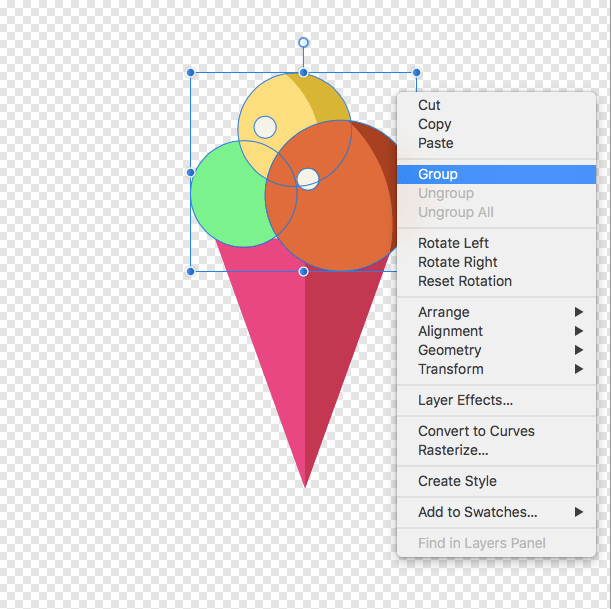
11) Next, pick the Move Tool and select all the "scooped creams" we created (and it includes the two crescents and the white dots as well). Right-click and select Group.
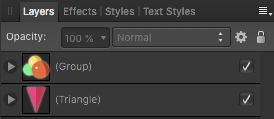
12) In the Layers panel, the layers are all grouped.
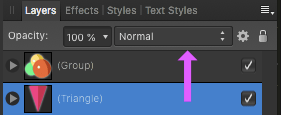
13) Now the scooped creams we created overflew the brim of the cone; we need to mask/hide them inside the outline of the brim. Click drag the square icon of the triangle layer and place it above the grouped cream layers.
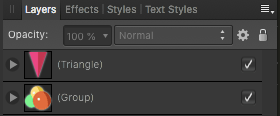
And here we have, the ice cream icon we created.

14) We can go further from here and place a circular background behind the icon. Pick the Ellipse Tool, press SHIFT and trace out a perfect circle over the icon. Fill it with some colour, say, #899FE6.
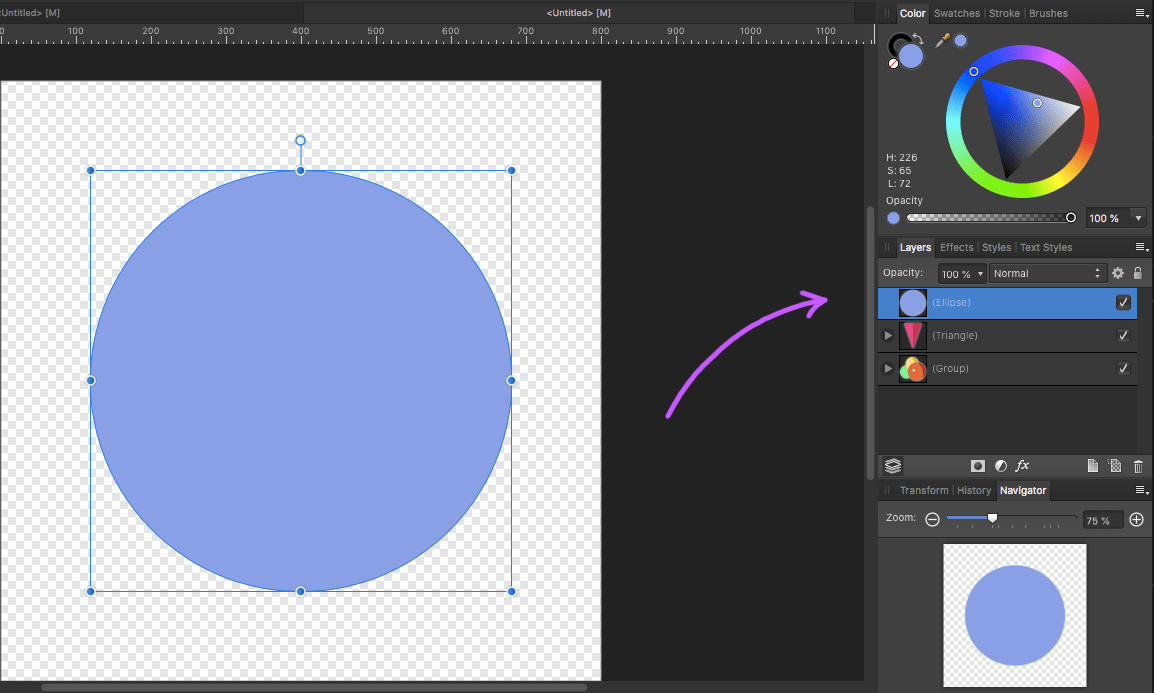
15) In the Layers panel, click drag the square icon of the ellipse layer and place it at the bottom.
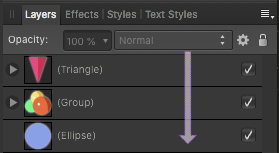
And here we get our icon with a circular background behind it.
16) Now one important thing here. We may want to resize/drag the ice cream icon we created as a whole, maintaining the aspect ratio. For this purpose we need to group all the grouped cream and cone layers together. Drag the cone layer (triangle) into the grouped cream layers. Note that this is not another layer clipping — it is just grouping — and that the cone layer lie on top of the cream layers in order inside. The ice cream icon can now be resized/dragged as a whole, keeping its original aspect ratio.
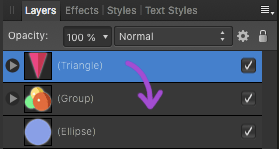
17) Next we have to export the ice cream icon, along with the round background behind it, as a whole. But as of now, it will not happen. If you select and export the circular background, you will get only the circular part. If you select the ice cream icon, you will get only the ice cream part — without the background. This happens because both the ice cream icon and the round background layers are independent. To fix this quickly, you can drag the grouped layers of the icon into the ellipse layer.
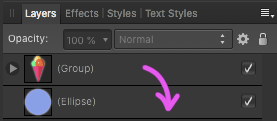
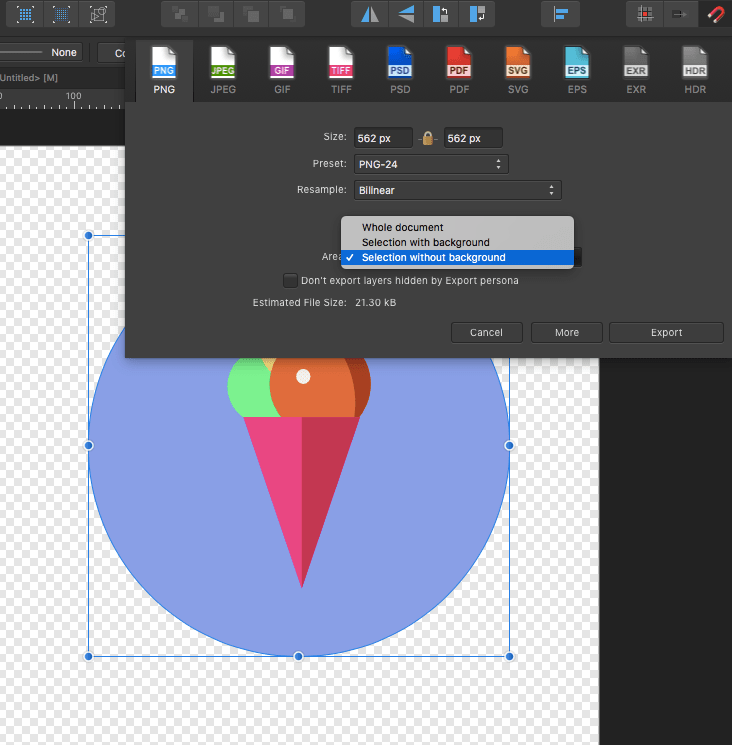
18) Select the Move Tool and click anywhere on the icon. You can see that the whole area is selected. Choose File > Export... A dialog box pops up. The PNG tab will be open by default. In the Area field, choose Selection without background. Press Export.
The Flat Ice Cream Icon in Affinity Designer
Below is the icon we just exported, with a circular background.