Affinity Photo: Create an Alien Planet
In this tutorial we will learn how to create an alien planet in Affinity Photo.
The first thing to do is to pick some kind of texture, based on which the planet's surface will be formed. To create terrestrial planets, choose rocky textures. To create watery or gaseous planets, choose some ocean textures. In this tutorial, we will create a simple terrestrial planet out of the below rocky background.
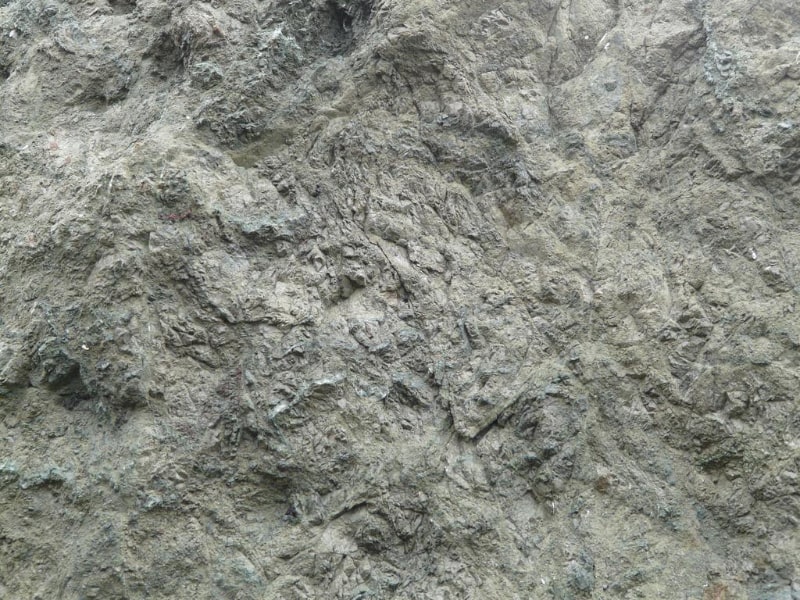 https://www.deviantart.com/roskvape/art/Rock-Texture-307459462
Also, choose some starry night background to place the created planet.
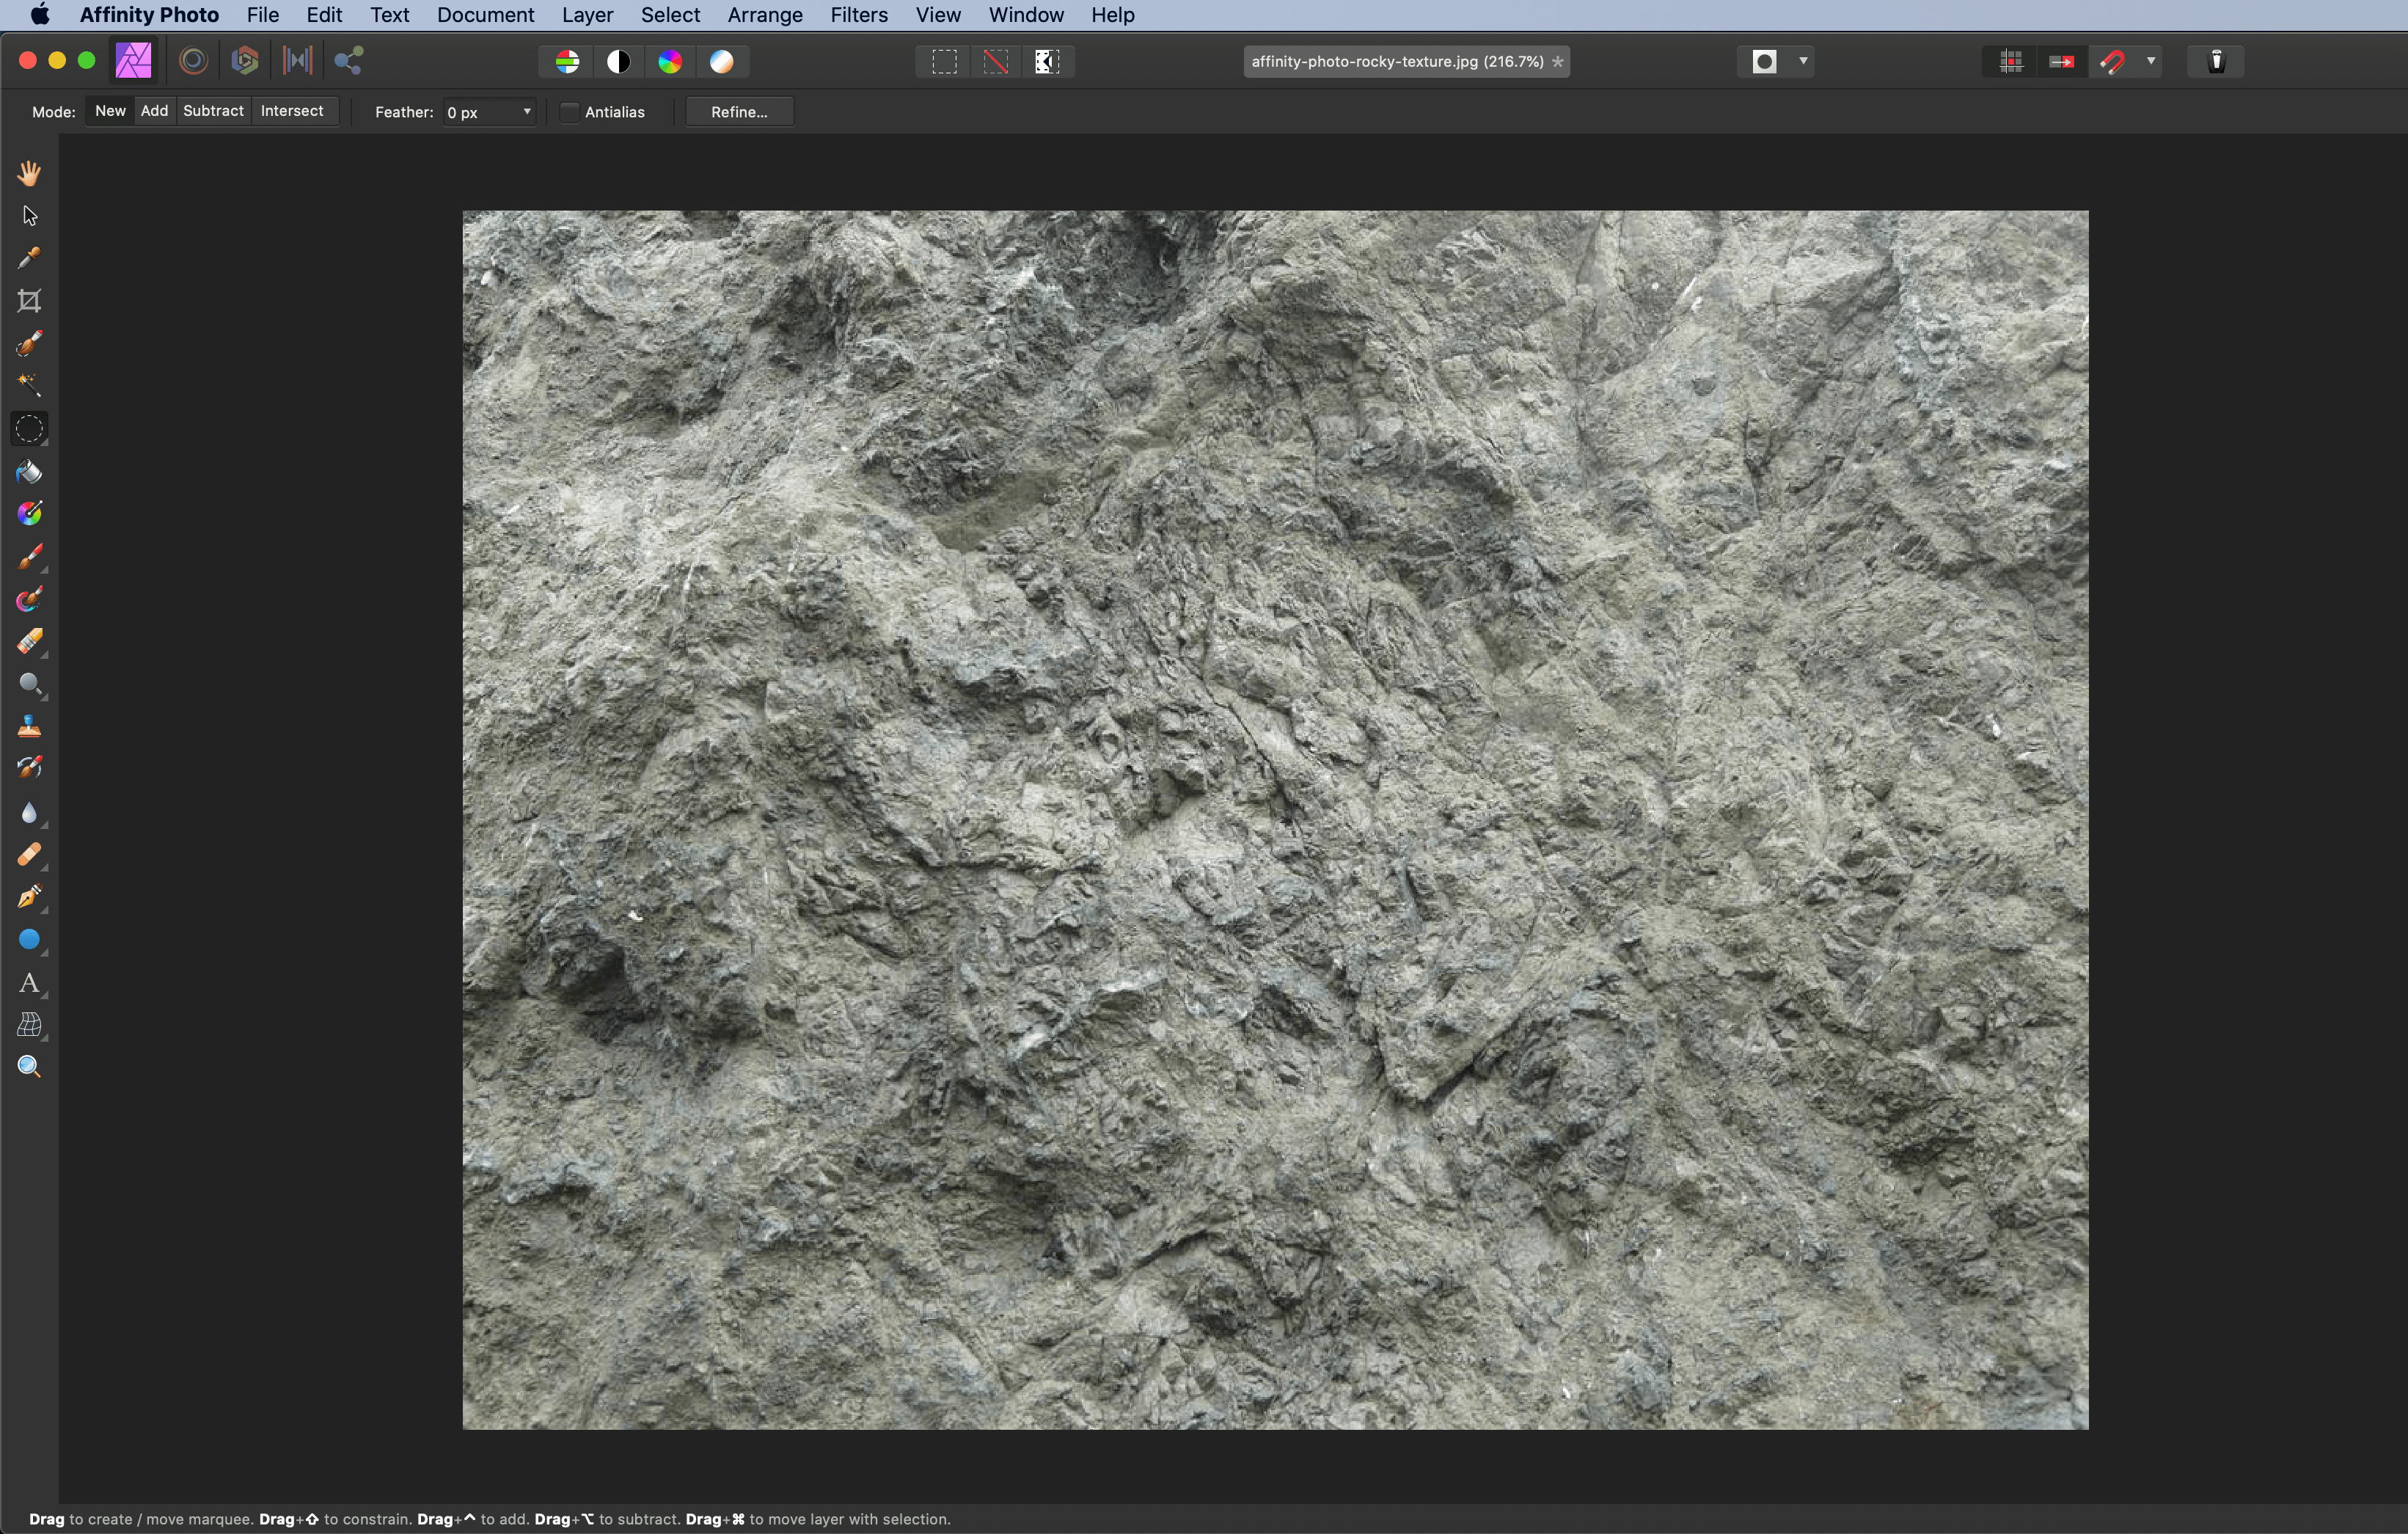
1) Launch Affinity Photo.
2) Click File > Open... and load the image out of which you would create a planet.
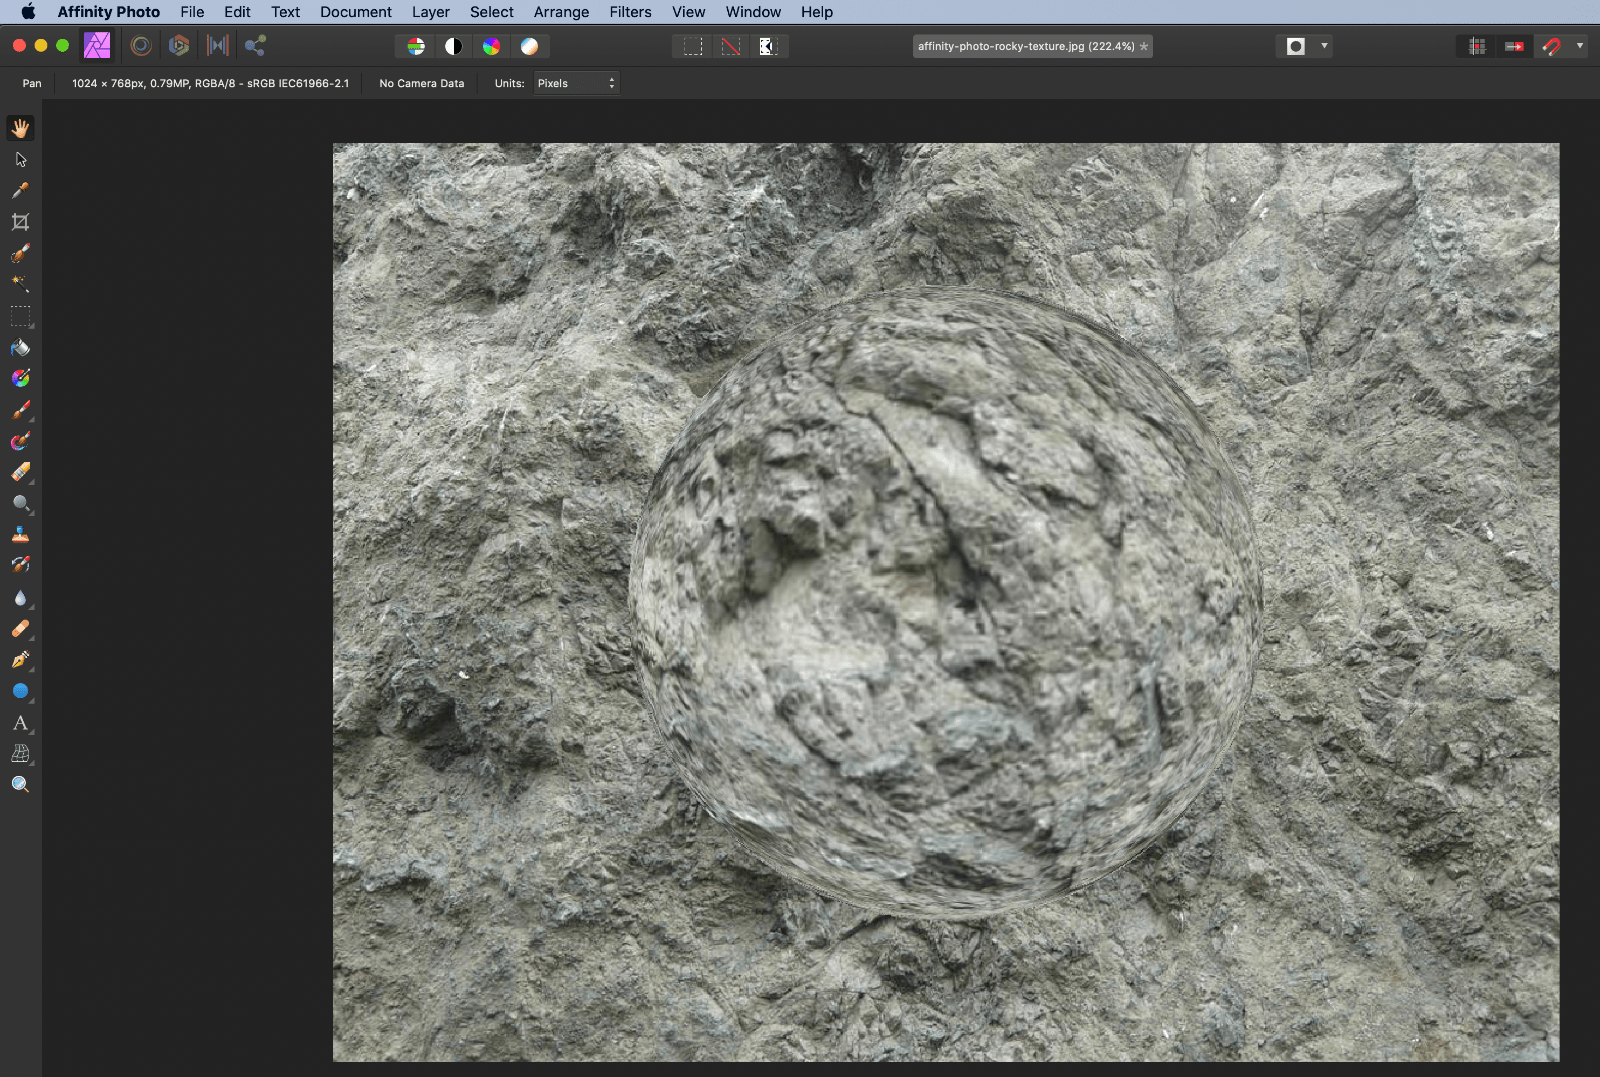
3) By default, you will be in the Photo Persona. We need to carve out a spherical looking object out of the background. Click on the Filters > Distort > Spherical.

4) Set the Intensity control to 100%. Then slide the Radius to a sizeable magnitude.
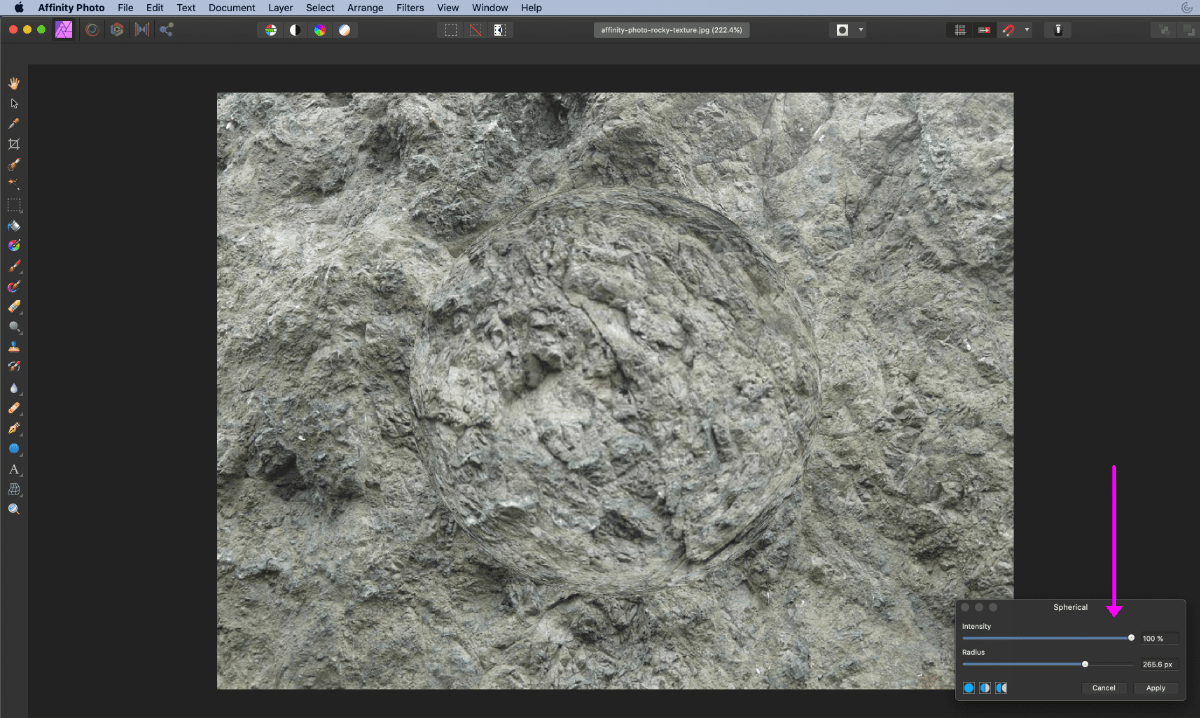
5) Click on Filters > Repeat Sphere.

6) The effect looks as below.
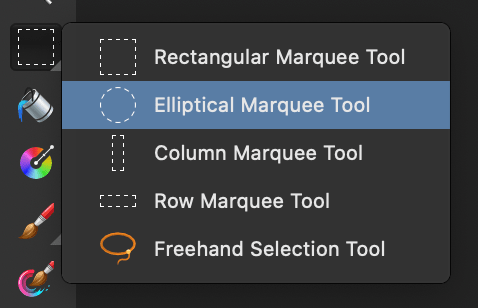
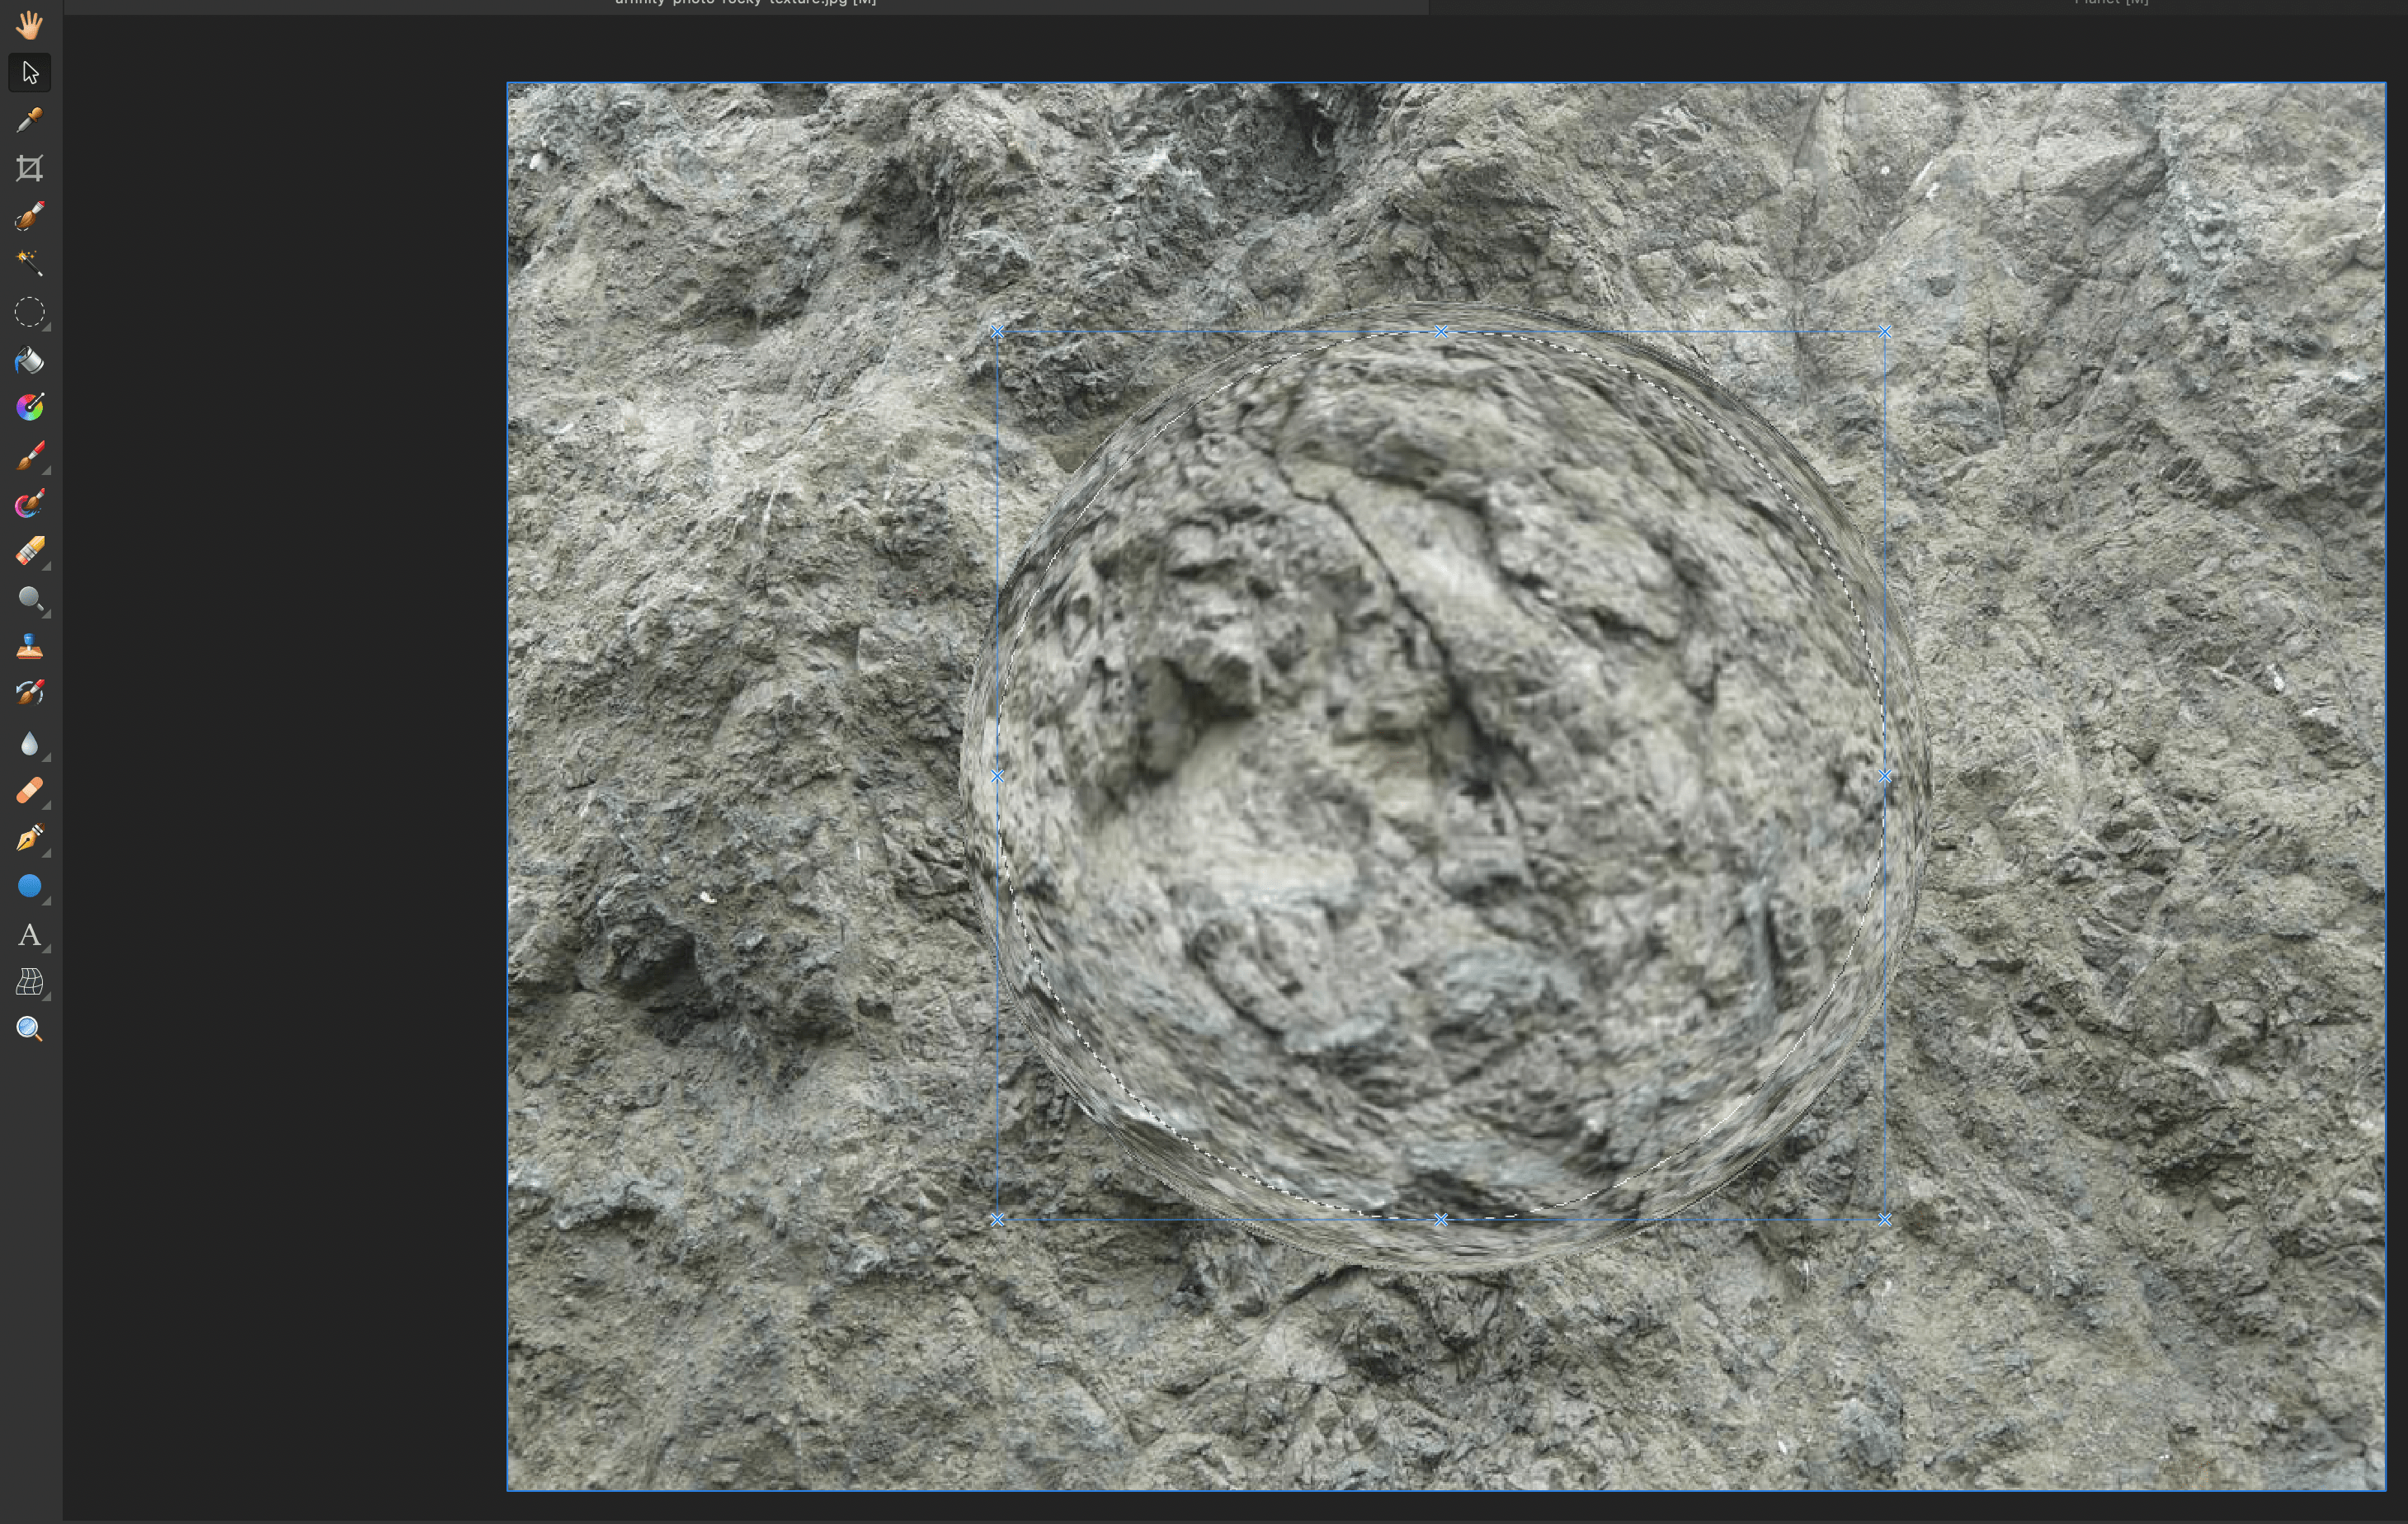
7) Pick the Elliptical Marquee Tool.
8) Trace out a sizeable area within the sphere. Copy it.
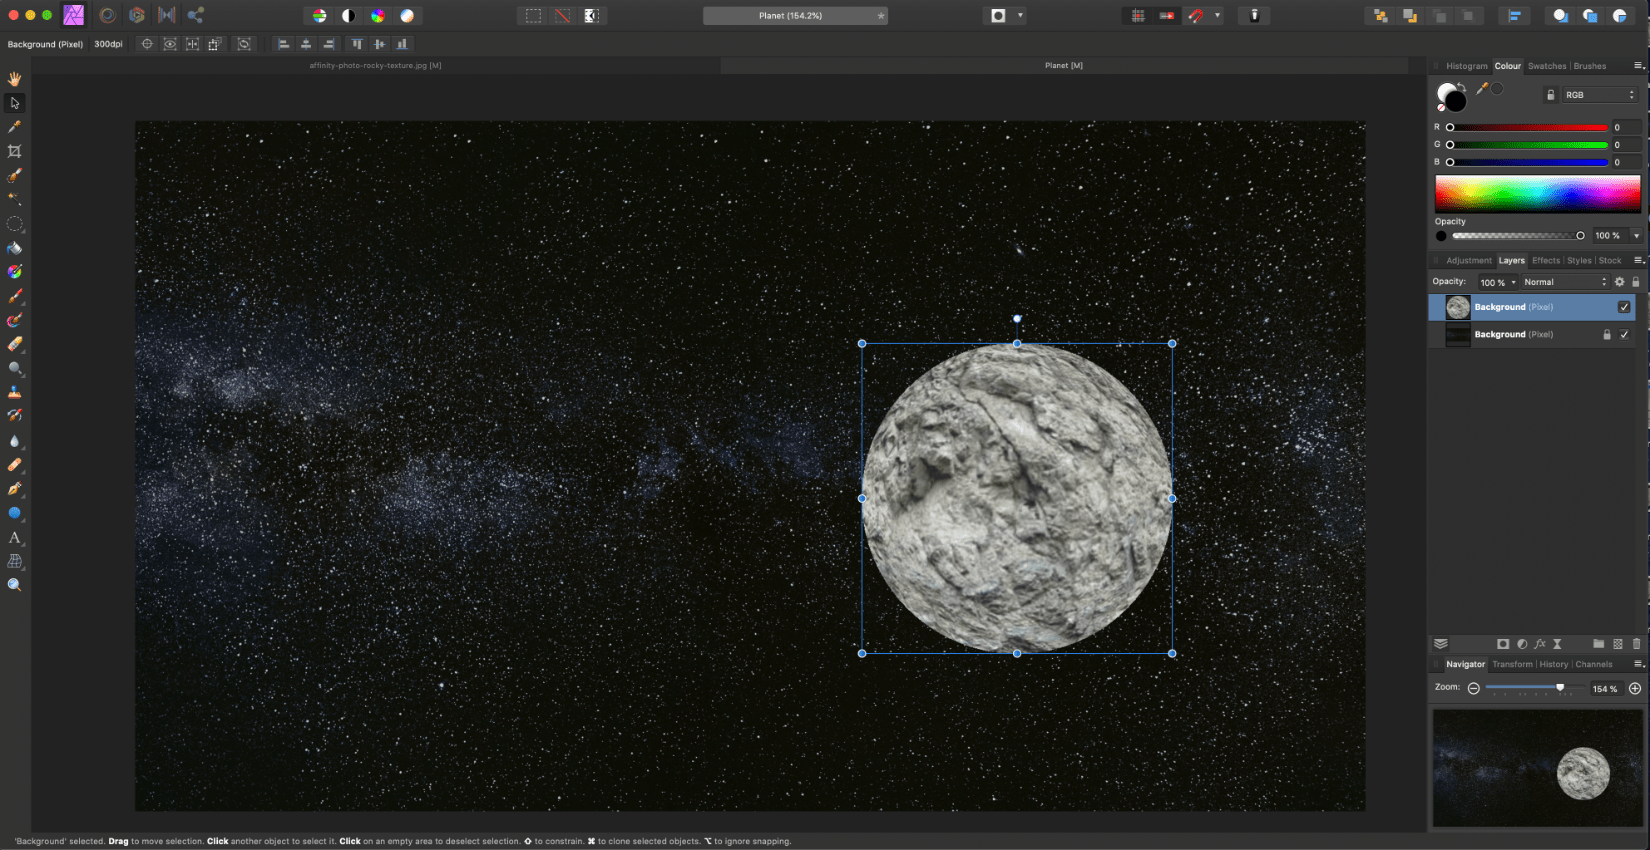
9) Paste the copied spherical object on the starry night background.
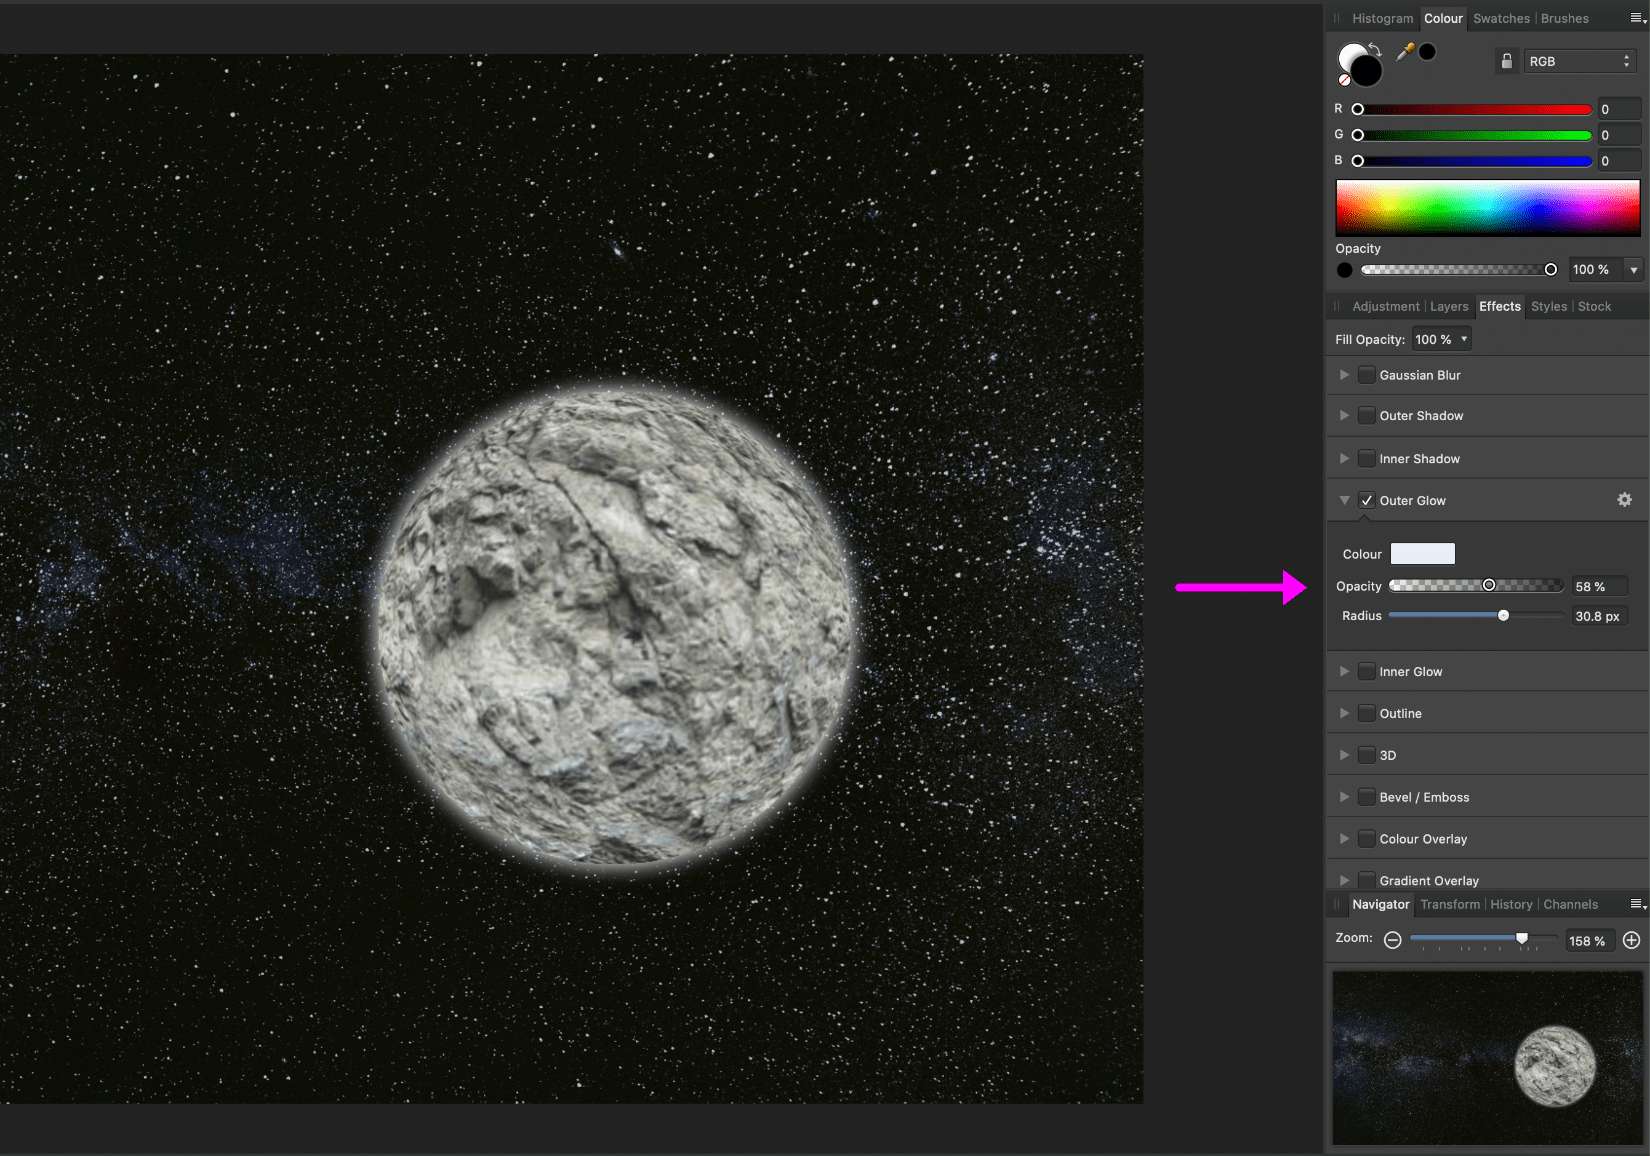
10) We need to smoothen the curved face of the planet. Click on the Effects tab and check Outer Glow. Pick white (#ffffff) for the Colour and adjust the Opacity and Radius slides. Keep both the opacity and radius low and balanced; unconstraint increase may give the impression of the presence of some atmosphere on the planet or unwarranted glows like a star.
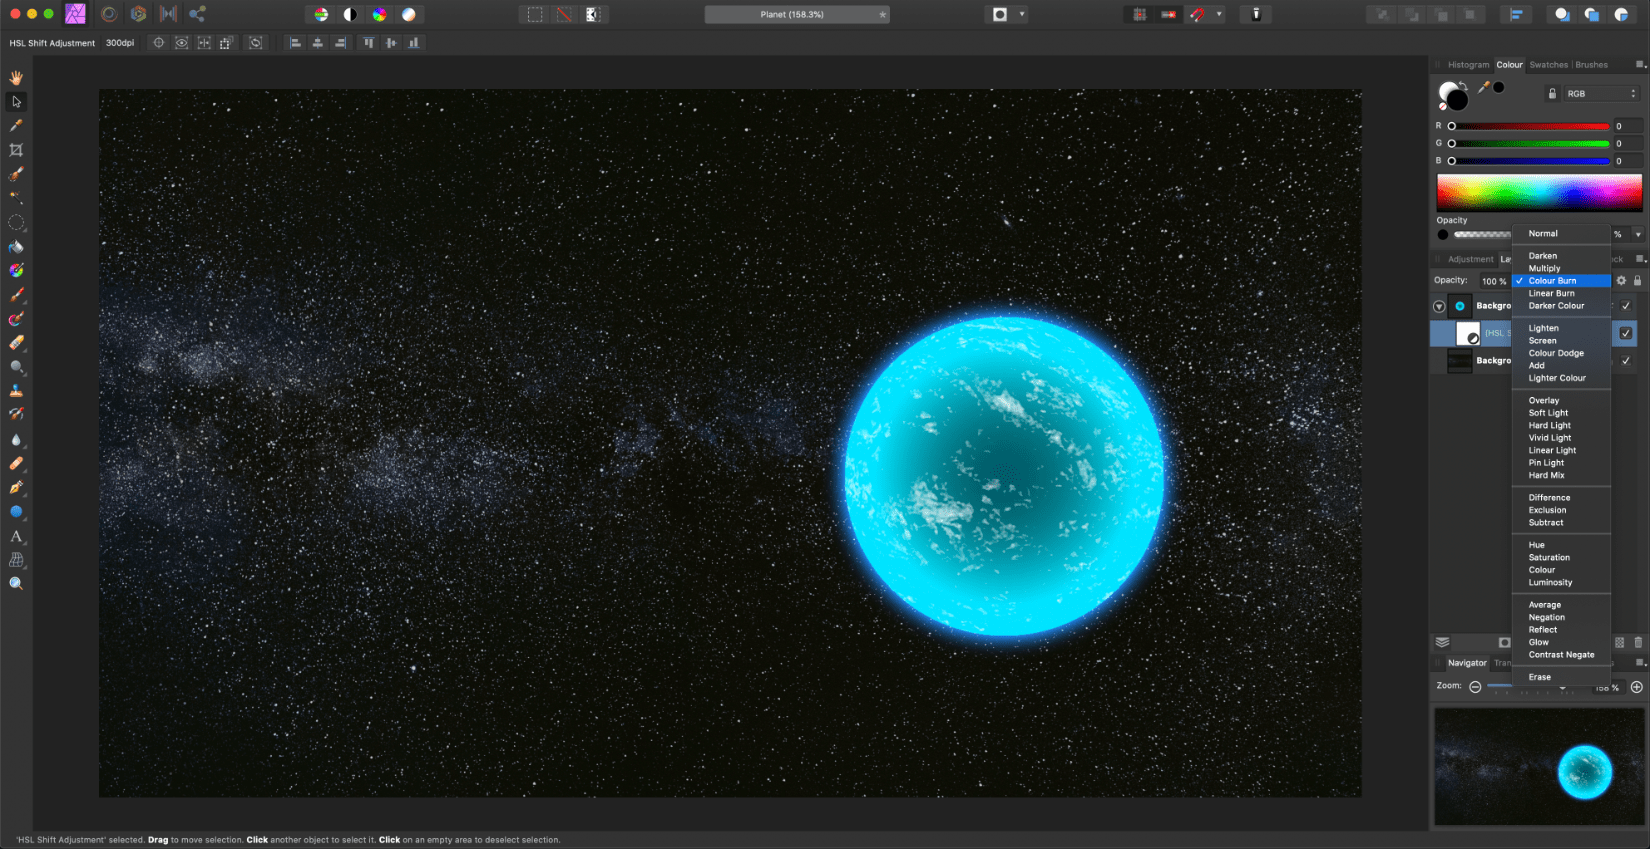
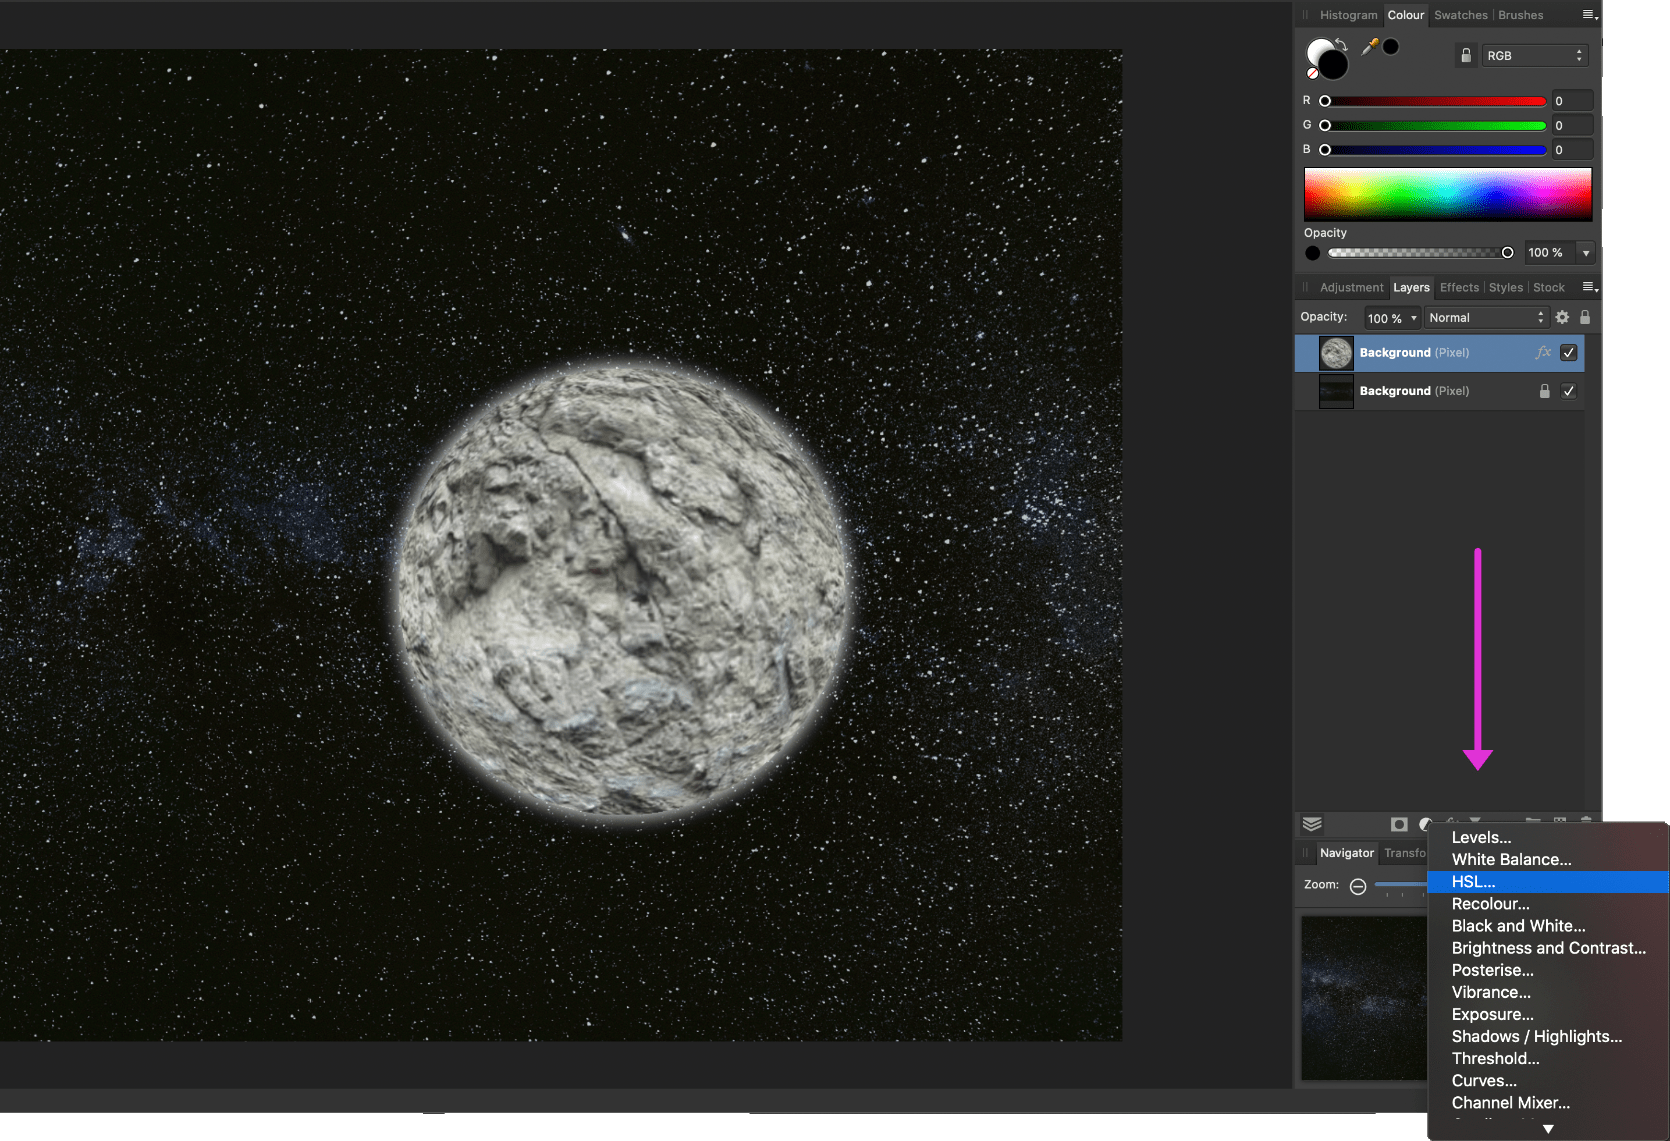
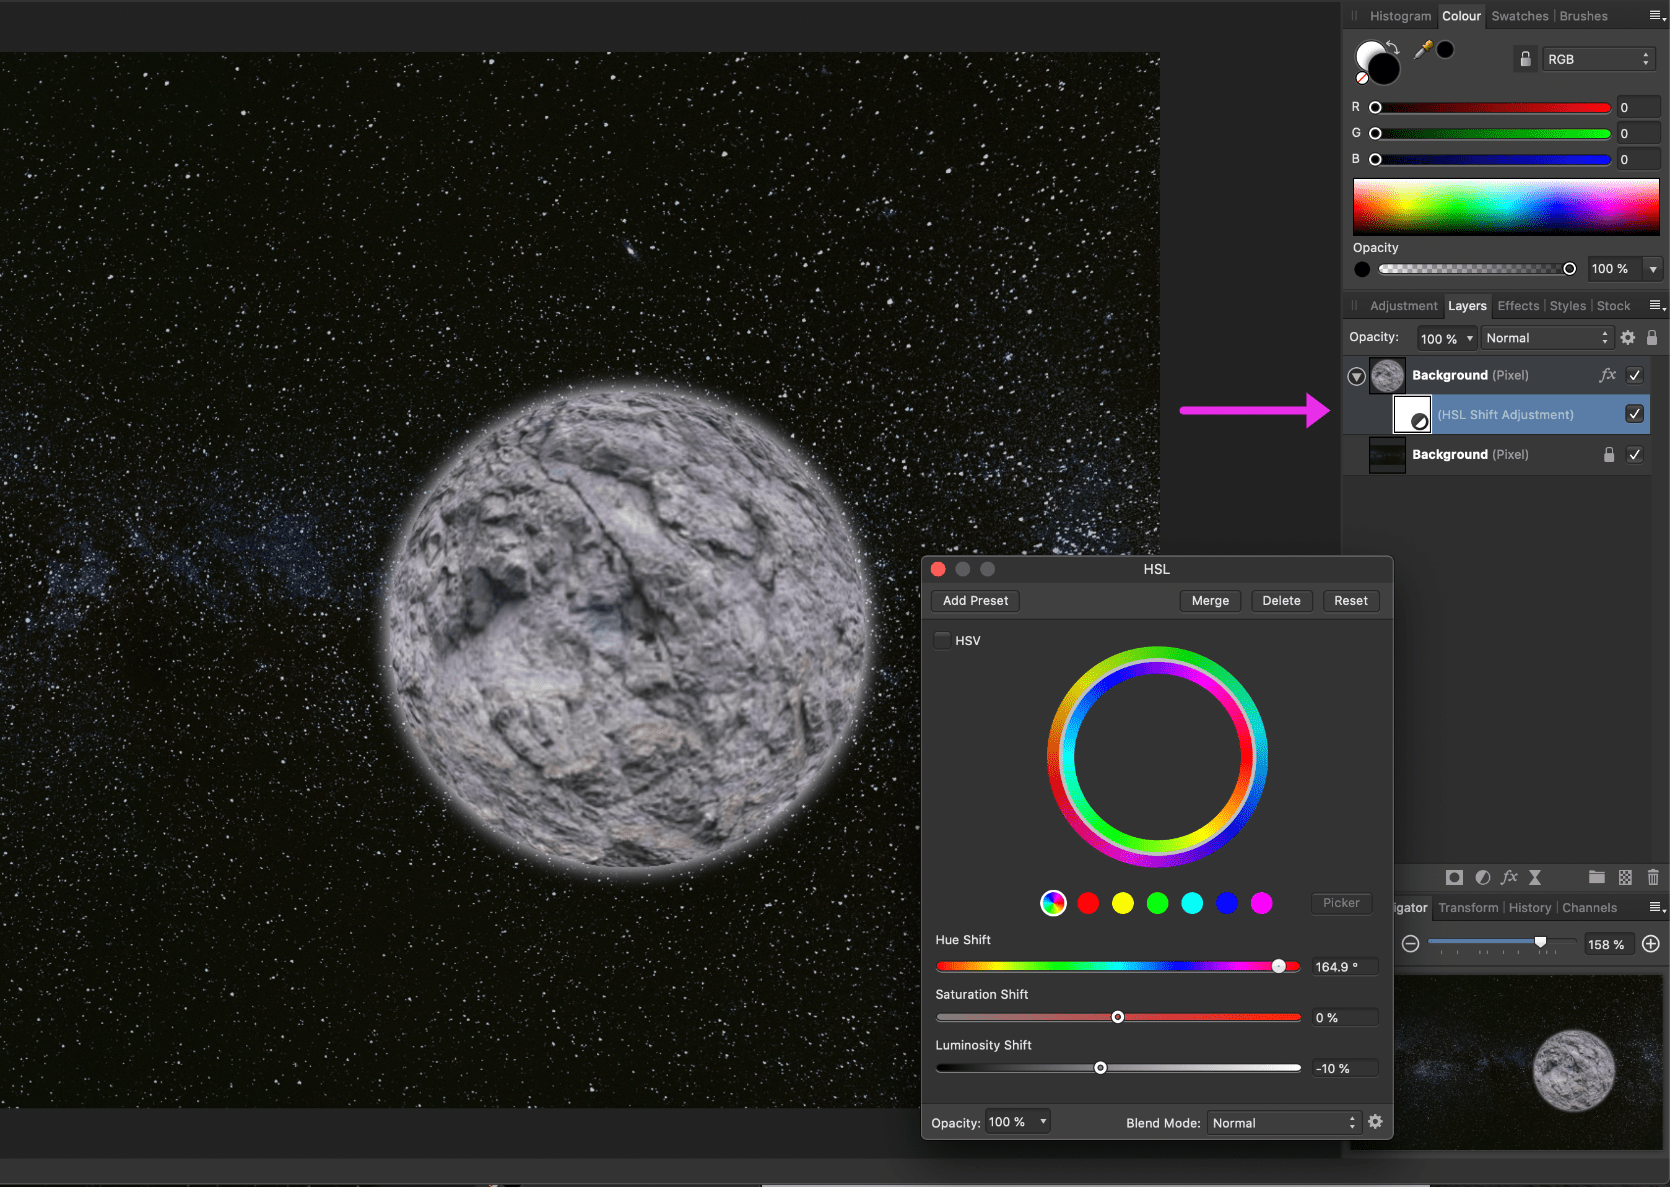
11) Next we lightly modifiy the colour of the planet. Click on the Adjustments panel and select HSL.
12) Adjust the controls: Hue, Saturation, Luminosity.
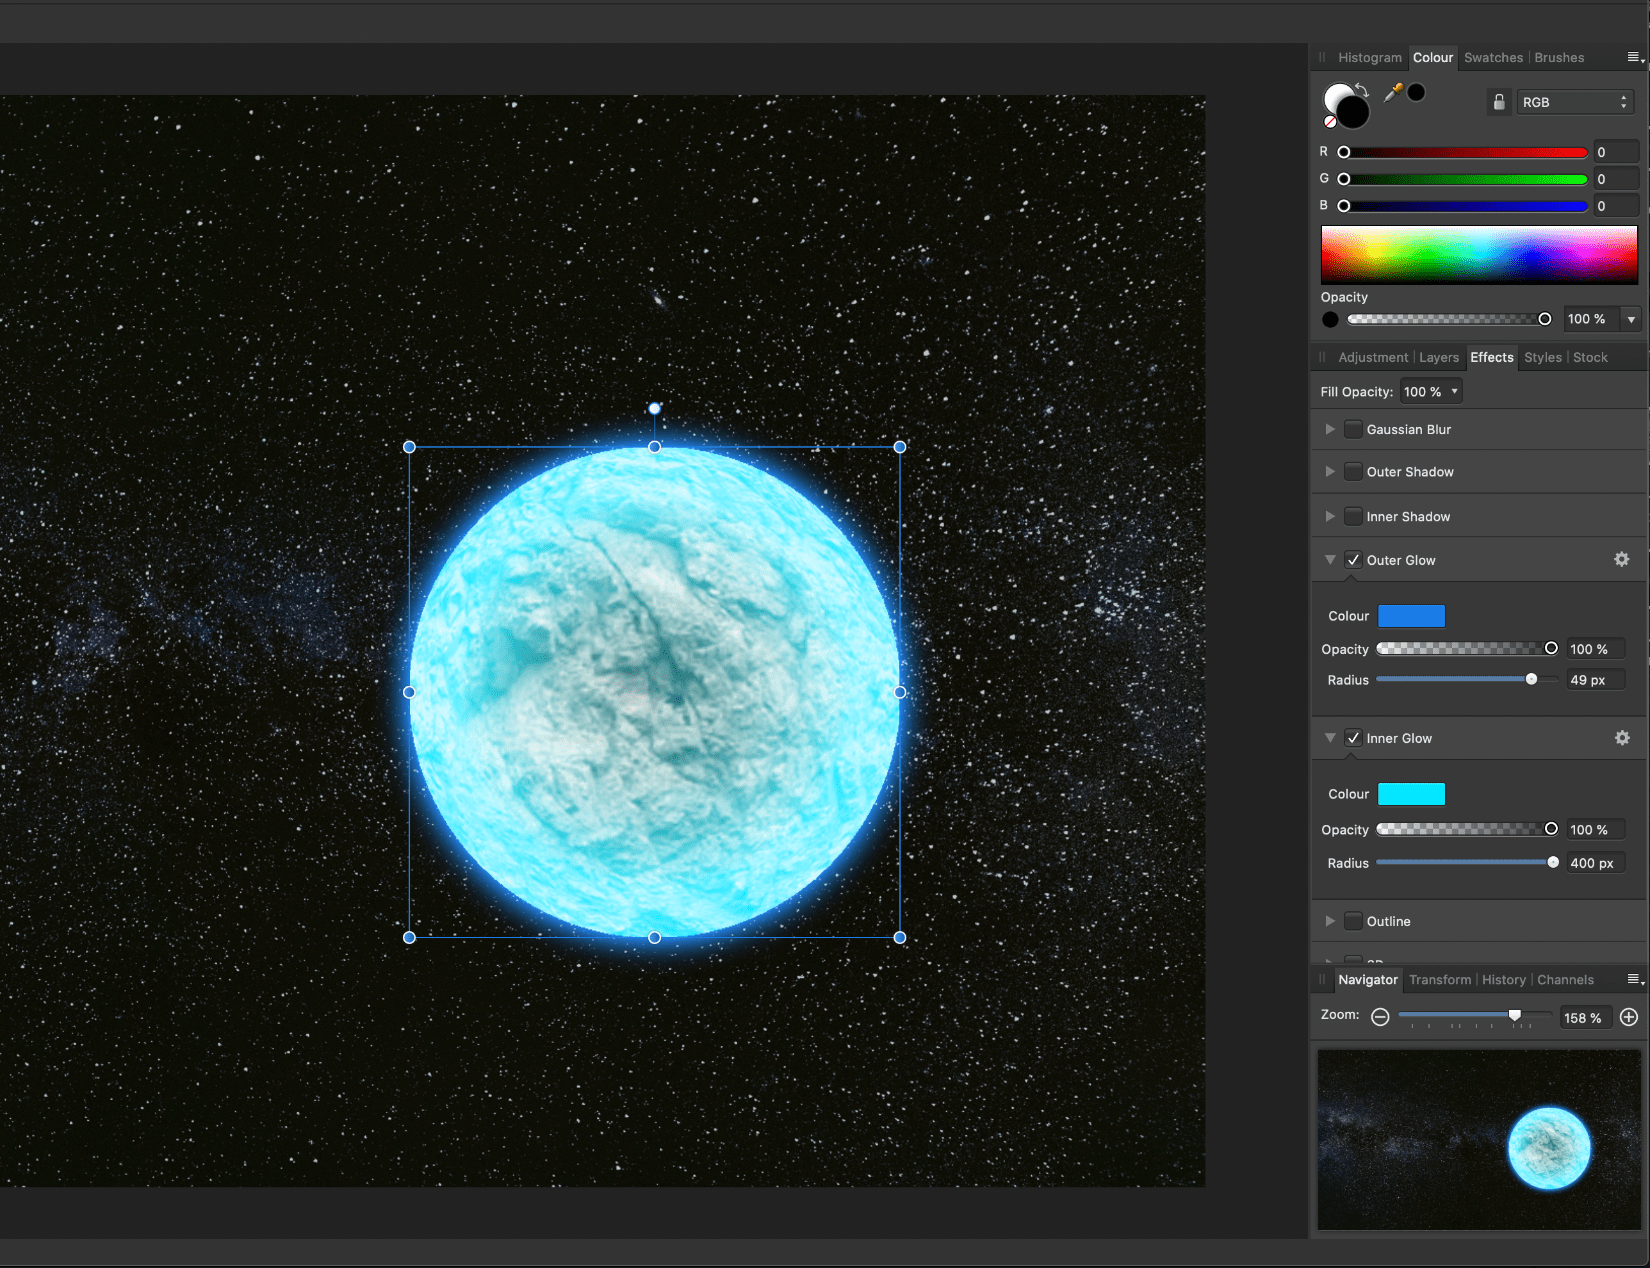
We can turn this dry rocky desolate planet into a lively one by adding some "atmosphere" to its surface.
13) Click again on the Effects panel, and pick some bluish colour. The Radius field can be increased a bit. Along with it, adjust the Opacity to give the curved face some buish glow of atmosphere.

14) Check the Inner Glow field. Pick some teal/light blue as Color and adjust the Opacity and Radius controls. The Radius field can be manually increased beyond 100px. Here I entered 400px.
15) Drag the HSL layer inside the planet layer, making it the child layer of the later.
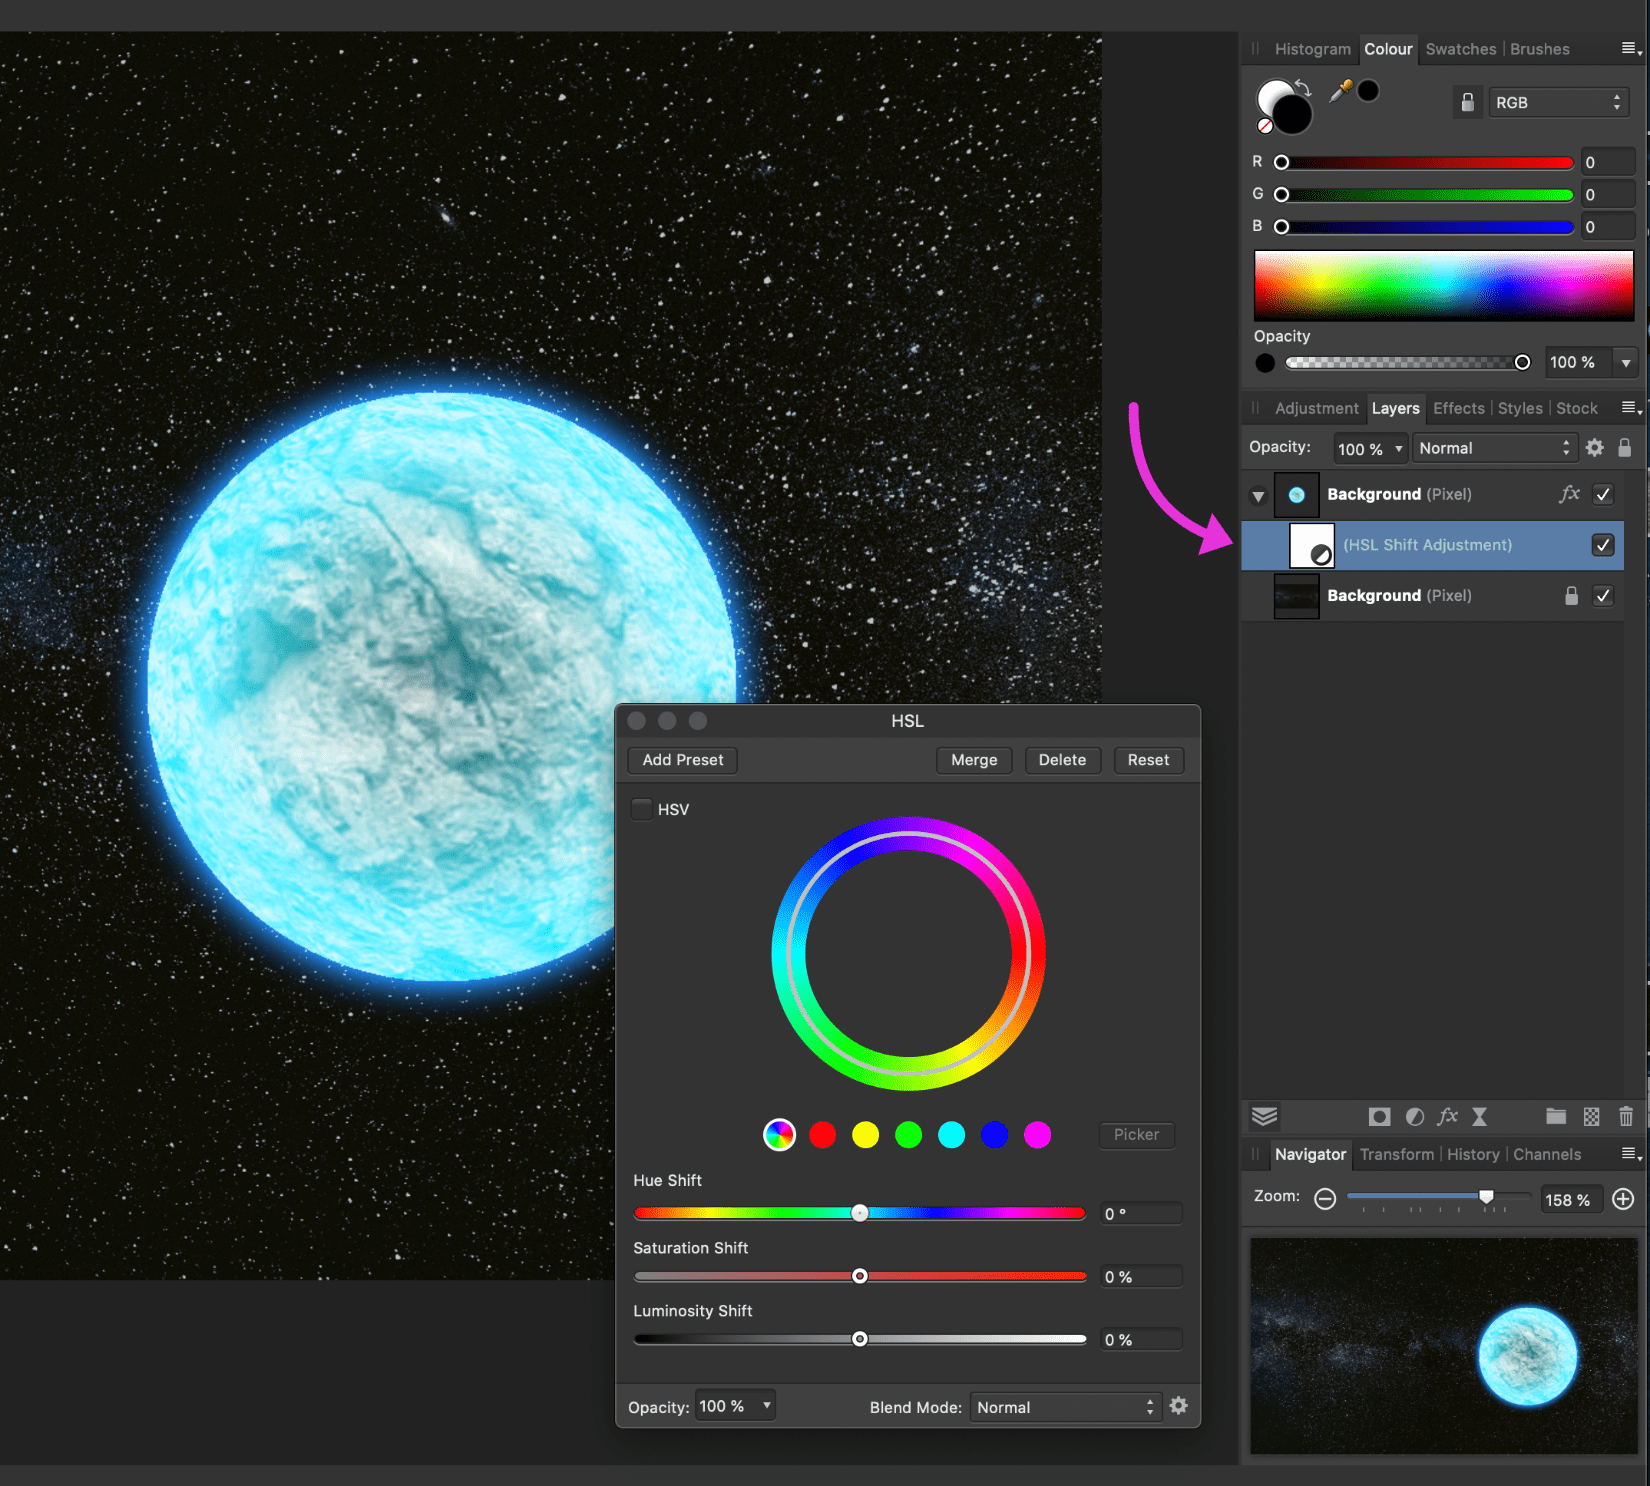
16) Adjust the Hue, Saturation and Luminosity controls.
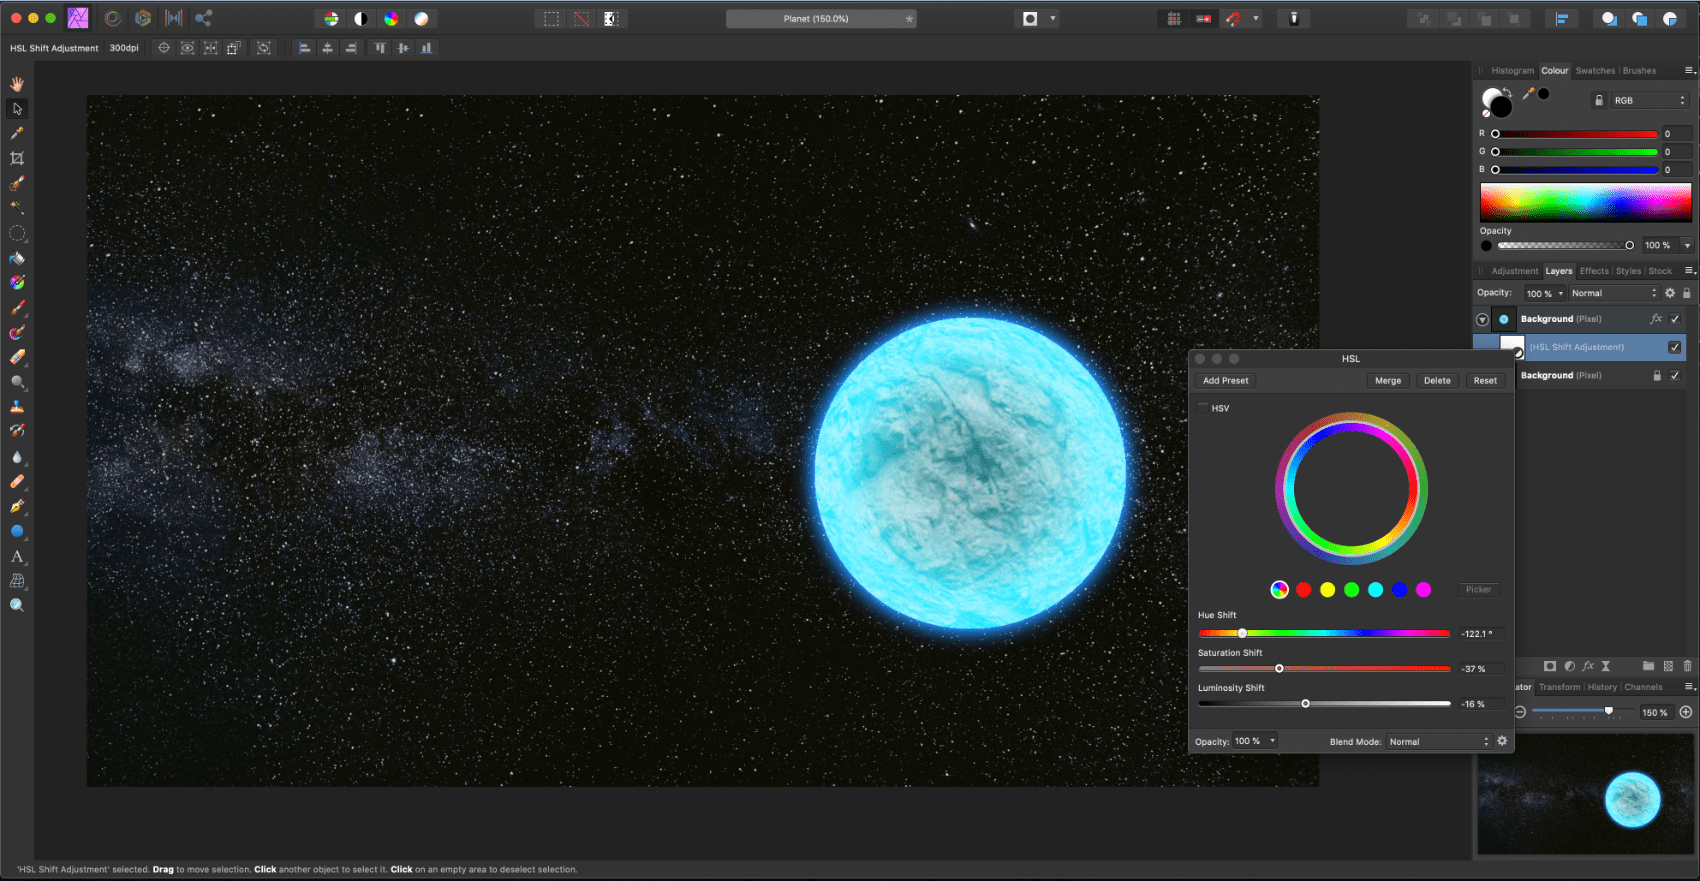
17) Lastly, choose a fitting Blend Mode. Here I pick Color Burn.