Affinity Designer: Draw a Line
In this tutorial, we will learn how to draw a straight line in Serif's Affinity Designer using the Pen Tool.
1) Launch Affinity Designer.
2) Create a new document (Press ⌘ + N). If you intend to work on a transparent background, you can check Transparent background in the Color section of the dialog box which popped up.
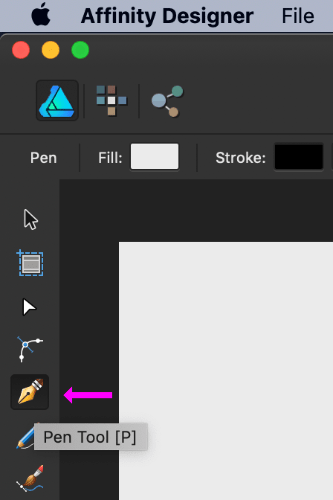
3) Pick the Pen Tool (Press P).
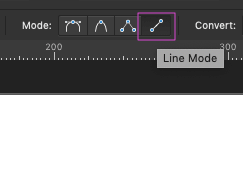
4) It has four different modes. Pick the Line Mode.
5) Click at a point on the document, where you wish the line to start. Then press SHIFT and drag the mouse horizontally.
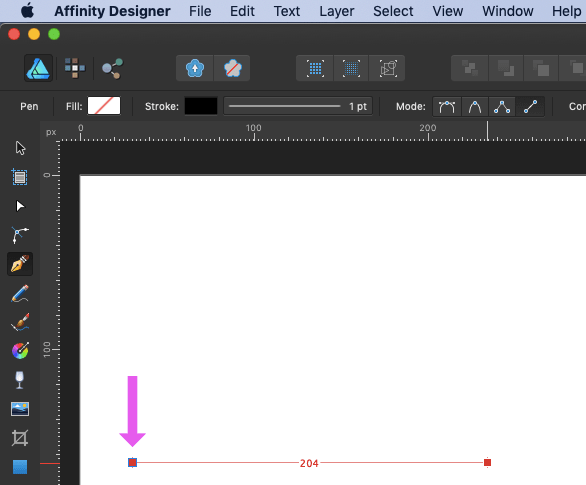
6) Release the mouse at the point where you intend the line to end. All the while, notice the Stroke tool on the Context Toolbar, which currently has the value 1 pt. This is where you set the thickness, type, colour and other properties of the line.
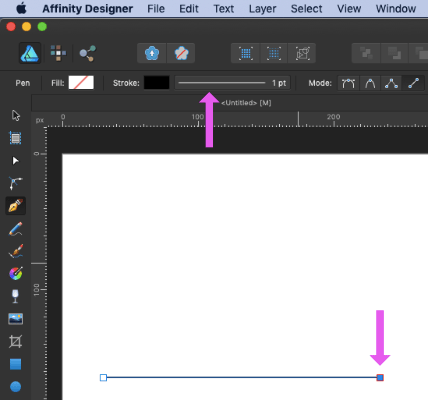
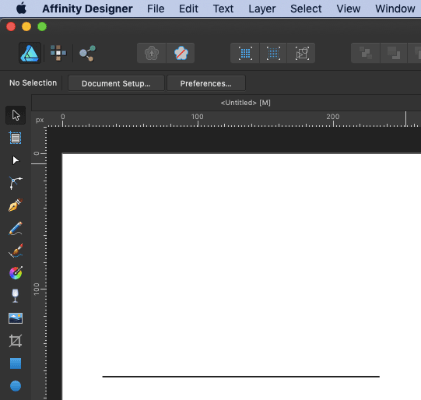
7) Here we get our first horizontal line.
Setting the Thickness & Colour
8) To set the thickness of a line, click on the stretched line icon on the Context Toolbar, next to the Stroke swatch. A Stroke panel opens up. Slide the Width control to the desired thickness.

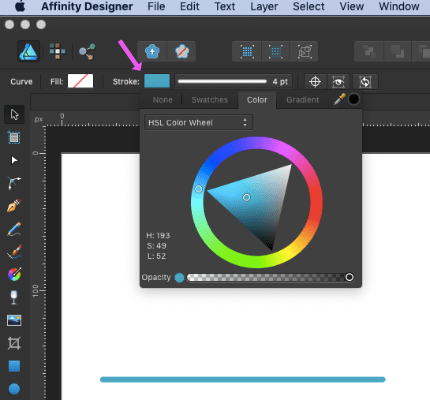
9) To set the colour of the line, click on the Stroke swatch, and then the Colour panel. There are several selection preferences for colour sliders. Here I have selected HSL Colour Wheel. Pick a desired color from the wheel.
Vertical Line
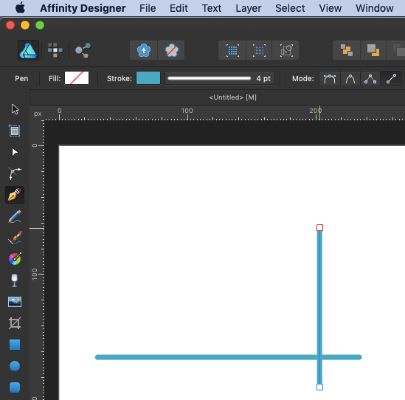
10) Drawing a vertical line requires just pressing the SHIFT key and dragging the mouse vertically.
Dotted Line
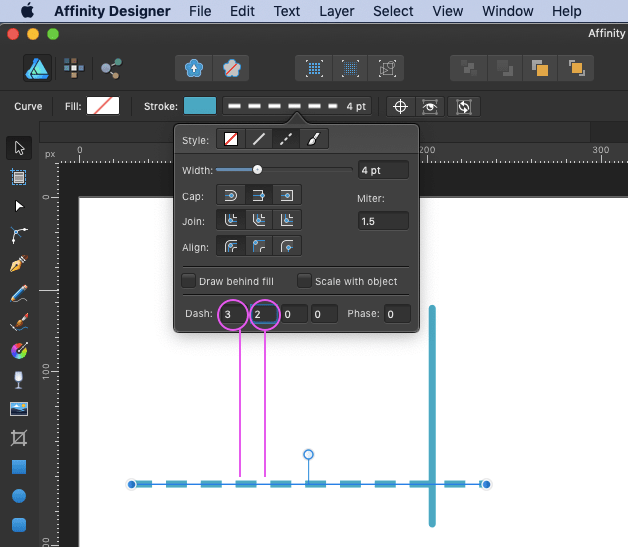
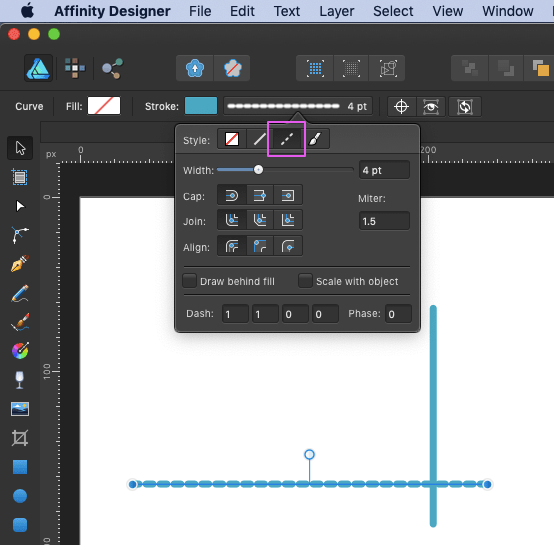
11) Pick the Move Tool and click on the line you wish to turn dotted. Cick on the line icon again, next to the Stroke swatch. A Stroke Panel open up. Choose the Dash Line Style from the Style field.
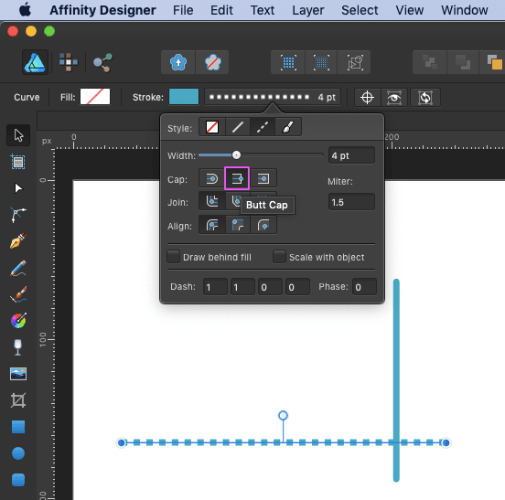
12) Now for the Cap style of the dash, you can select either Round or Butt or Square. Here I choose Butt.
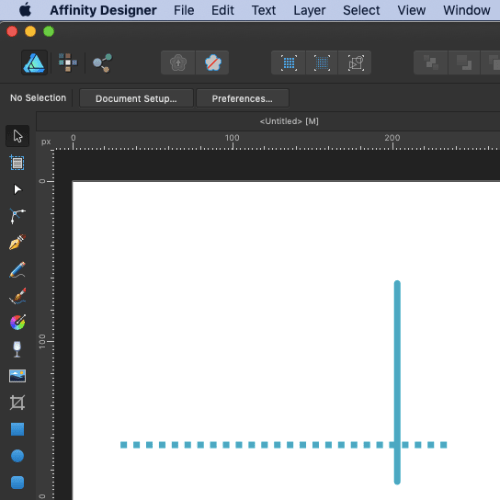
13) Our dotted line looks as follows.
14) There is a four-number Dash grid at the bottom of the Stroke panel. The first number sets the size of the dash and the second the subsequent space.